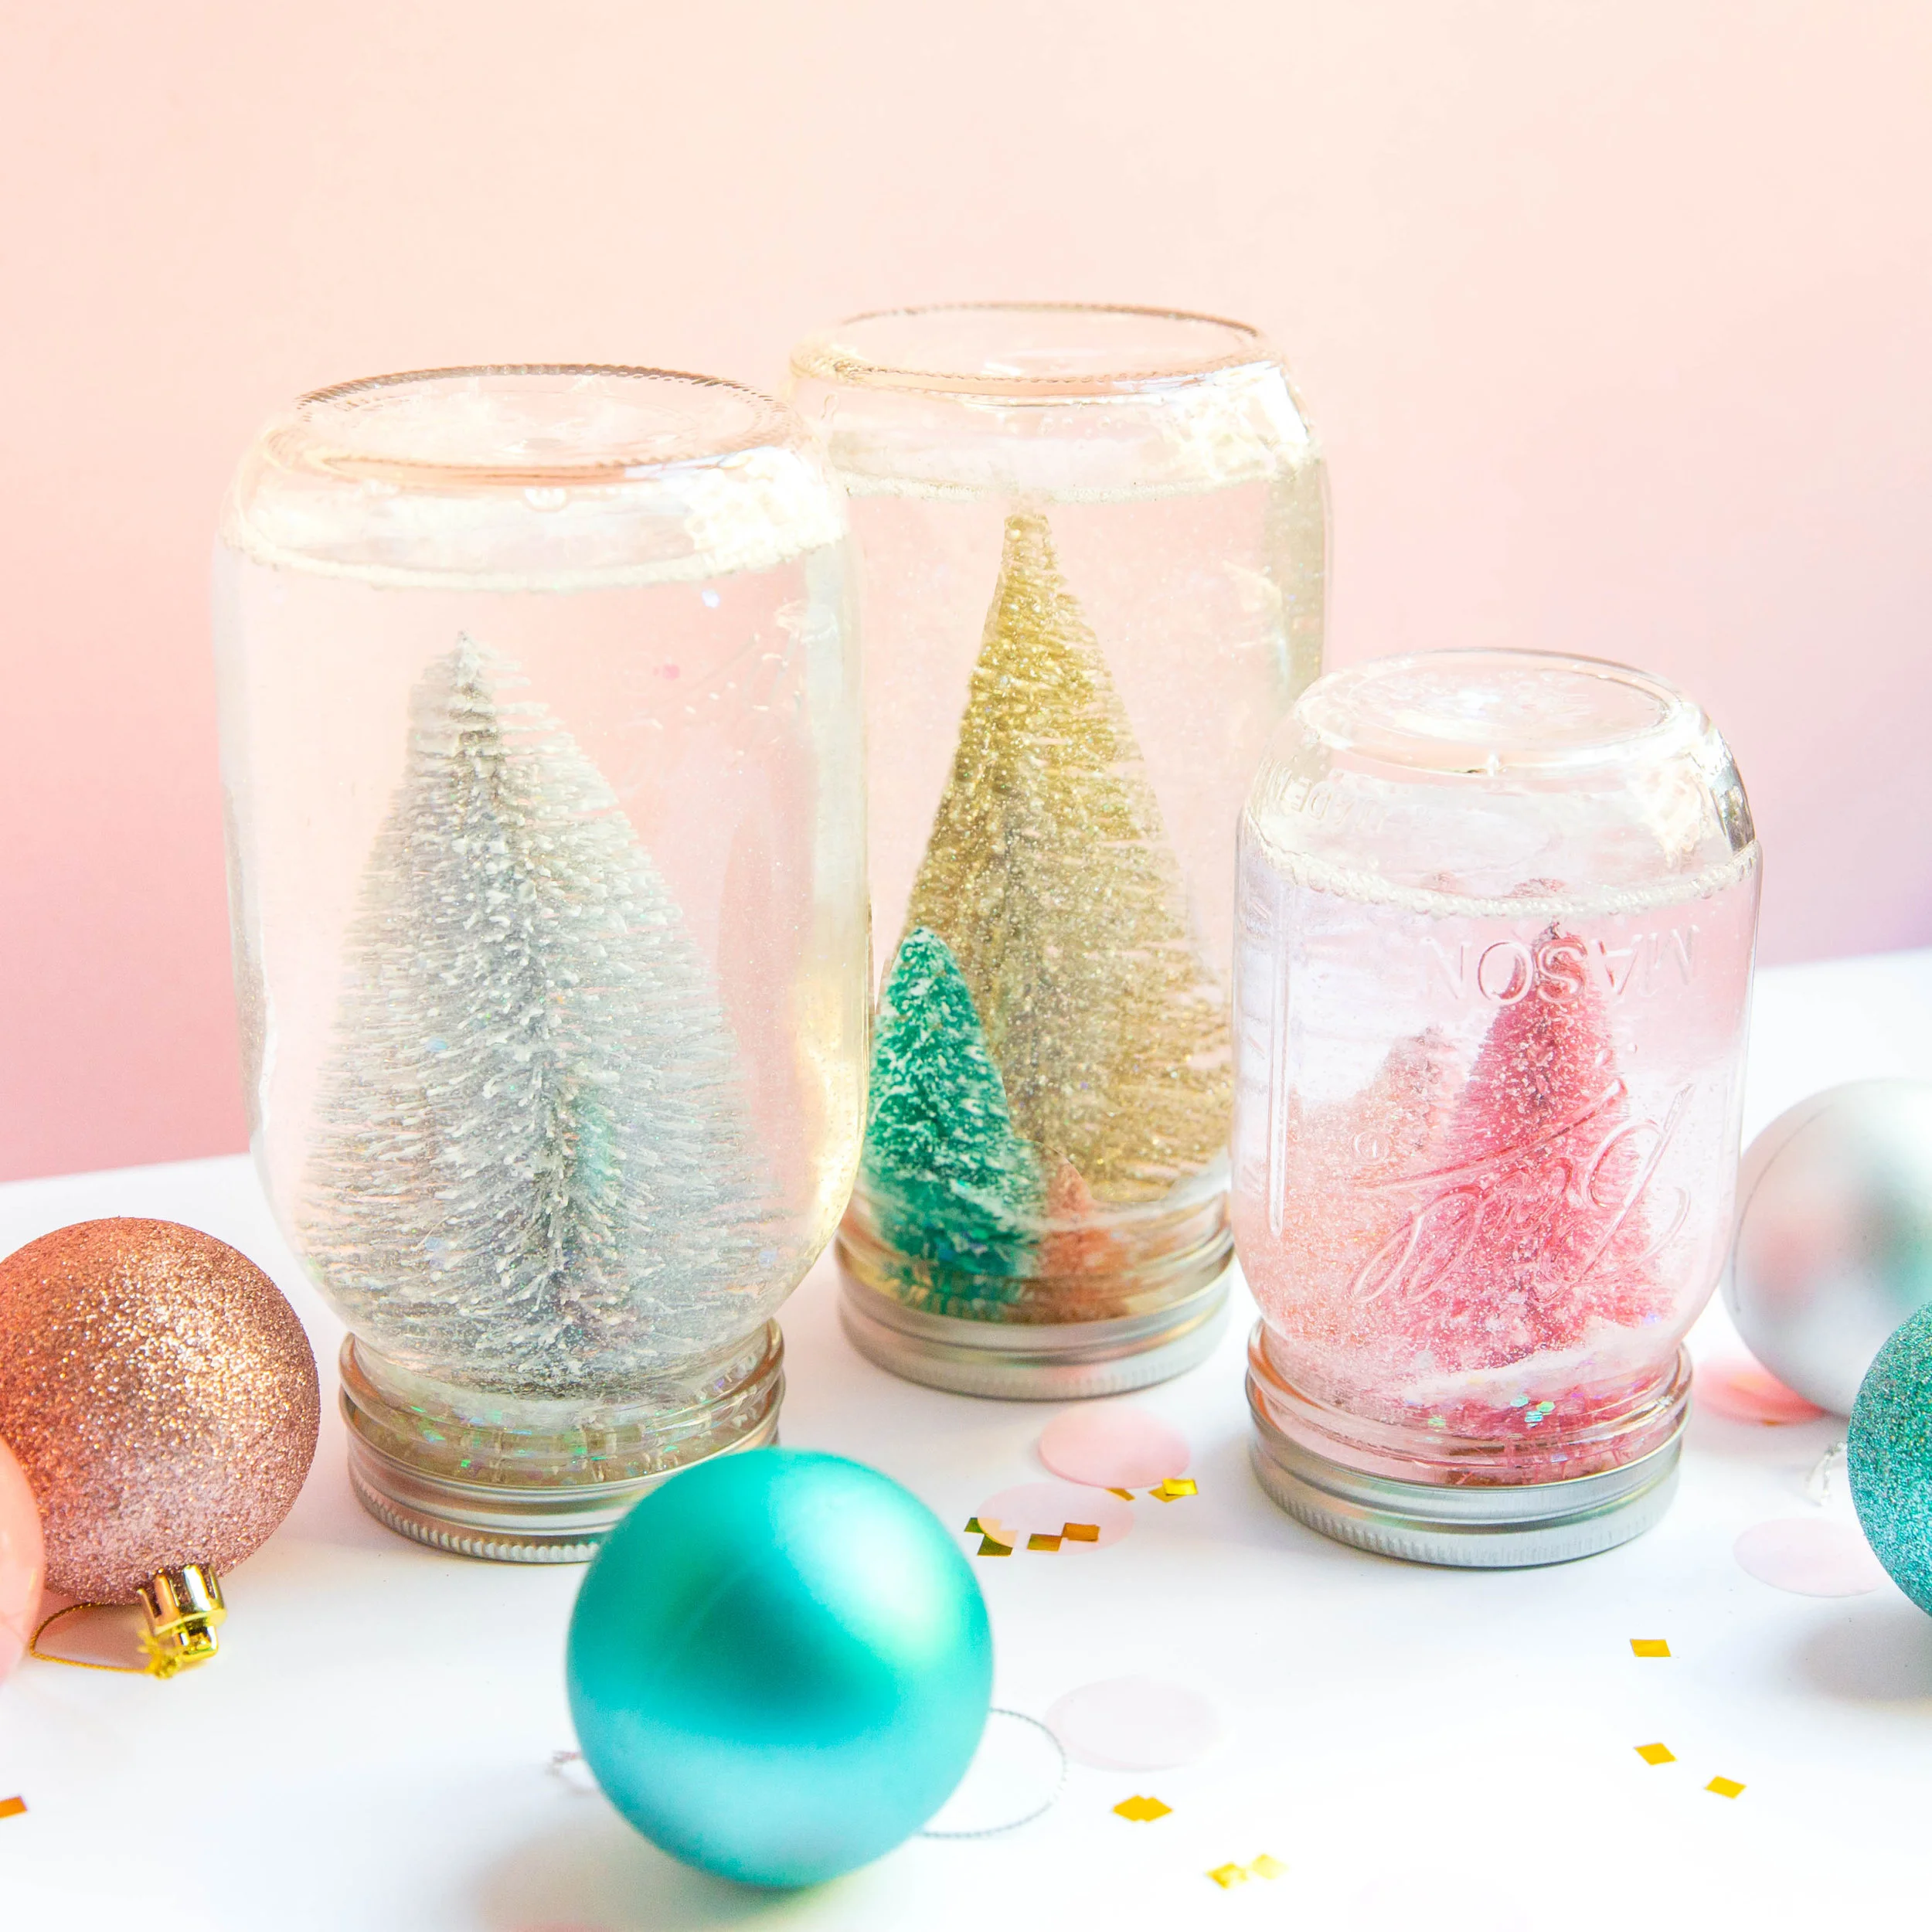
DIY Snow Globes
Snow globes make spectacular holiday gifts, but you don't need to spend a fortune on a custom-made piece when you can create your own. This simple guide walks you through the process, step by step, so you can create a fabulous photo snow globe (or a dozen of them) in your own home.
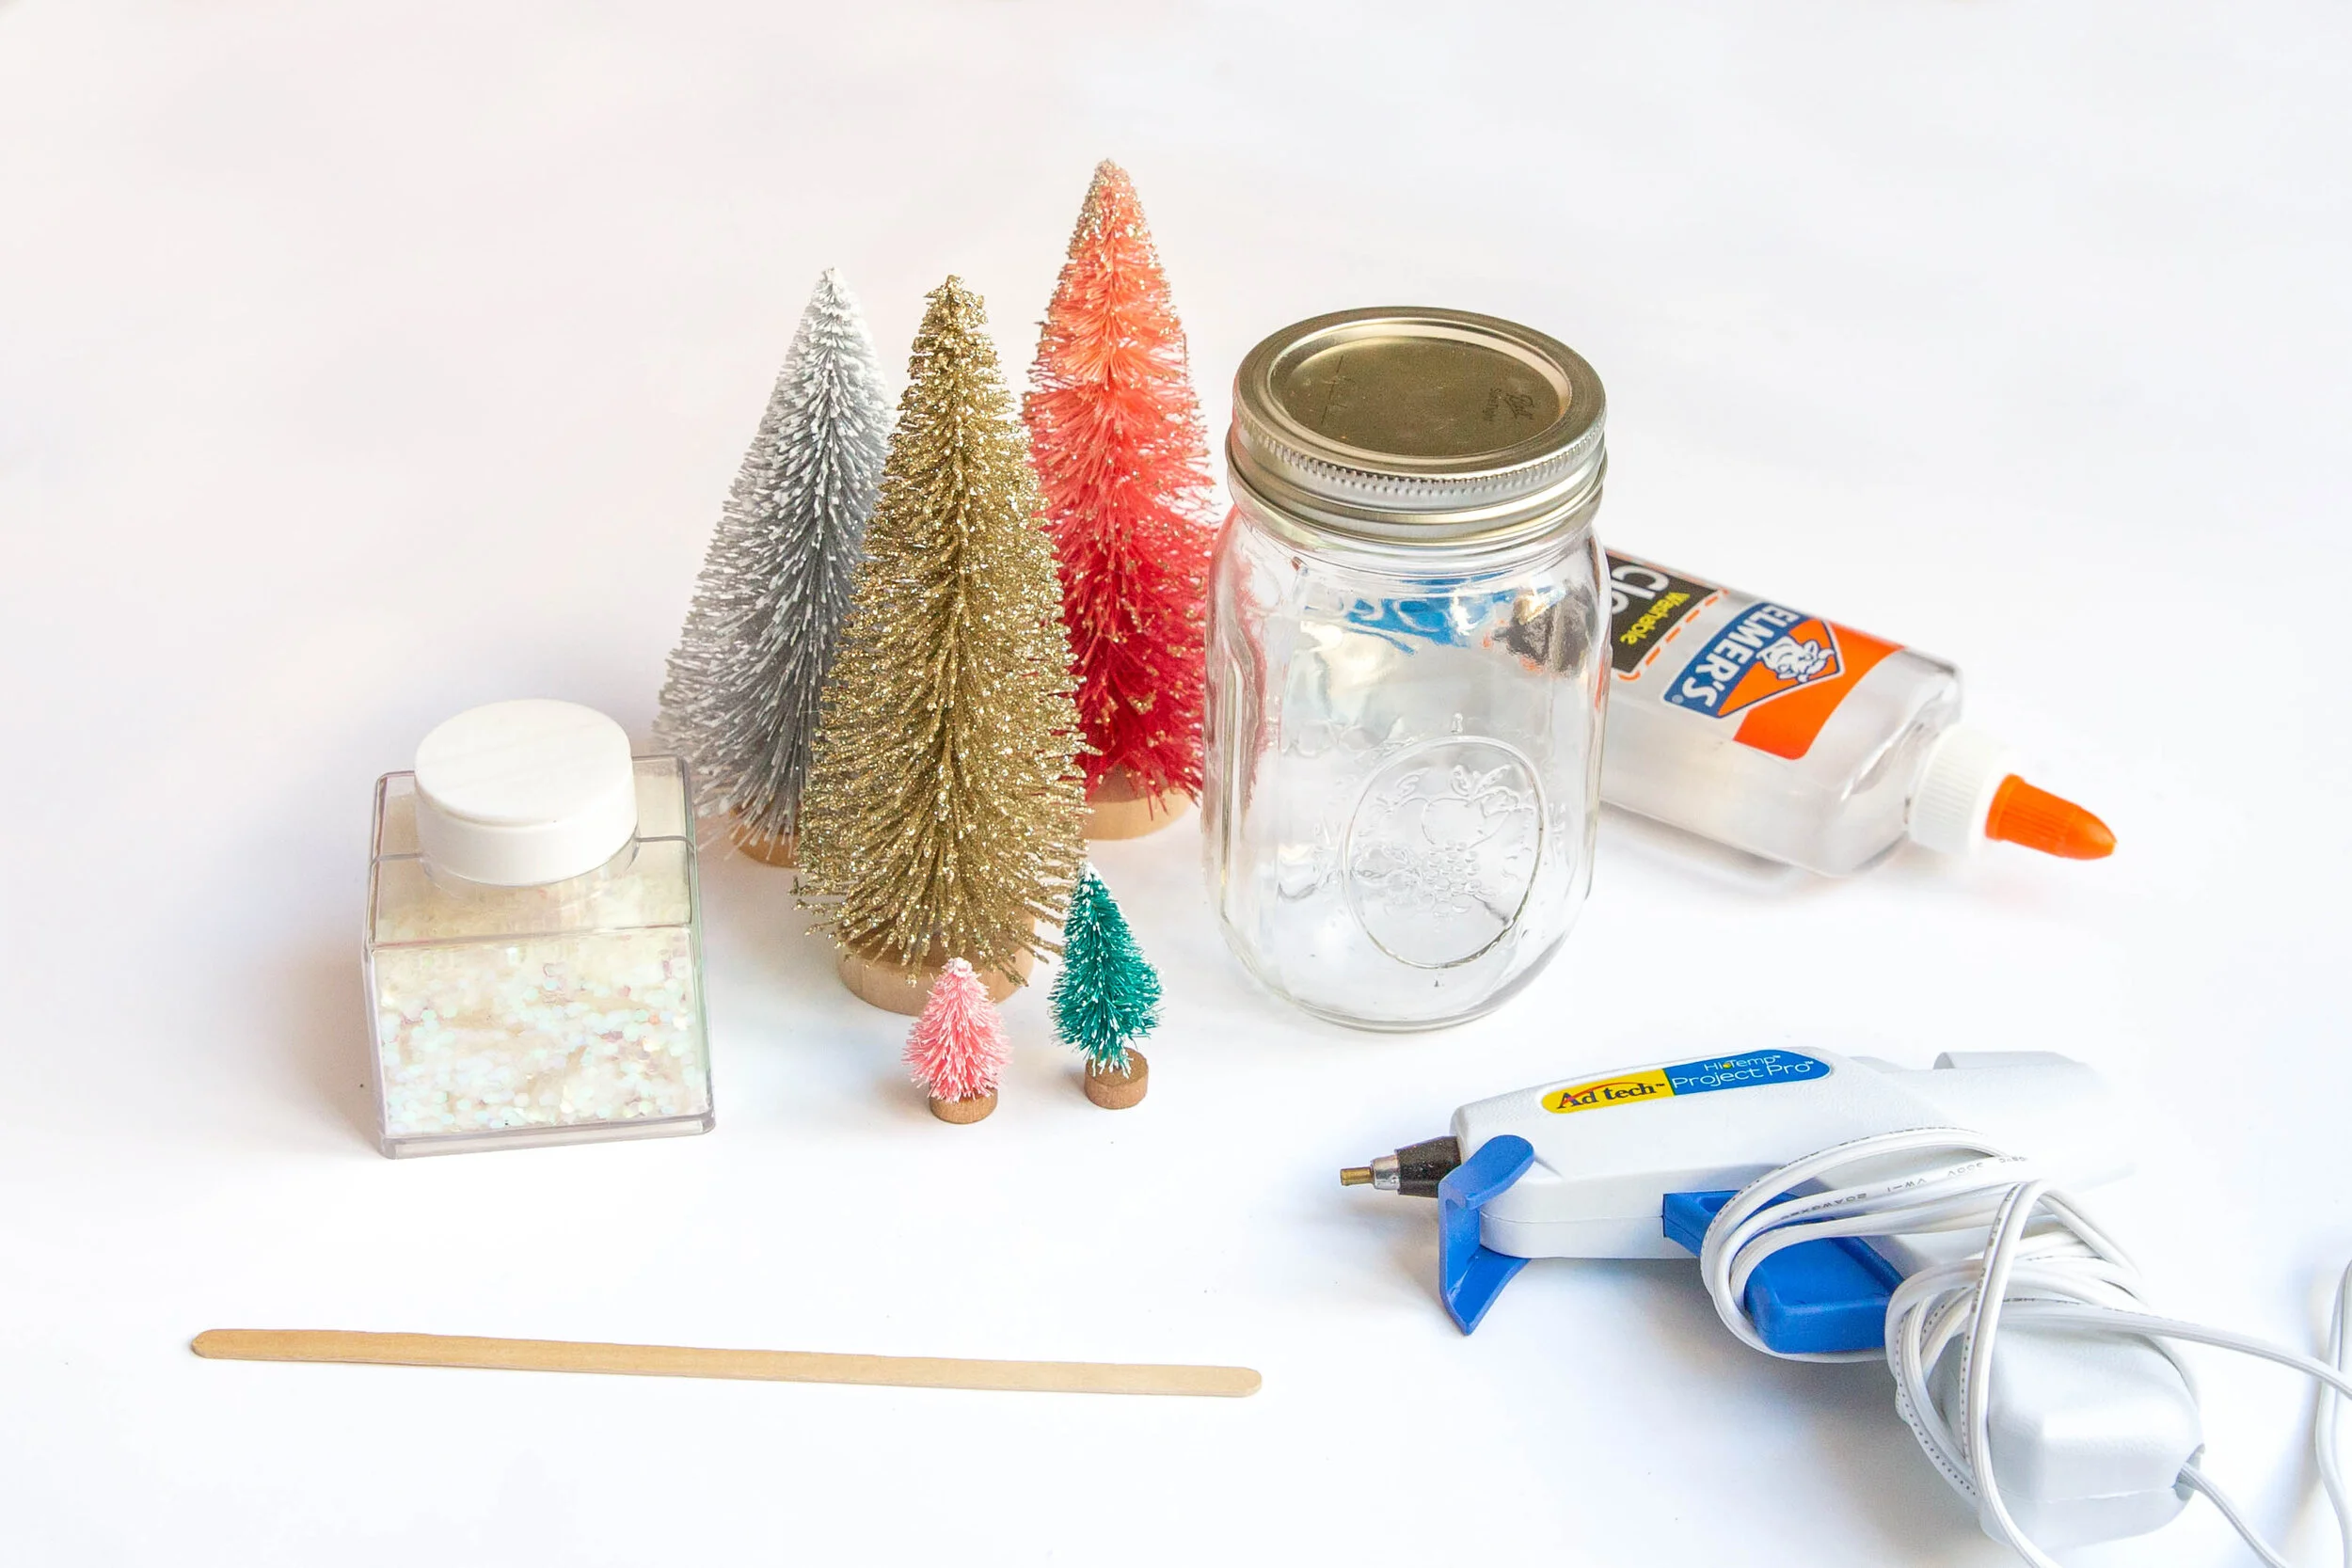
DIY Snow Globes With Photos Inside: Supplies
Here's what you need to create your own photo snow globe:
• Mason jars with lids
• Laminated photo
• Glitter (a mix of iridescent chunky glitter, small snowflake glitter and white glitter is great)
• Silver or iridescent sequins (optional)
• Small decorations, like snowmen or holiday trees
• Clear glue or glycerin
• Distilled water
• Hot glue
When you've gathered all your supplies, it's time to get crafty. You'll:
• Measure, cut, laminate and glue your picture
• Add your photo and embellishments to the base
• Fill the globe
Here's a closer look at each phase of the project.
Steps to Making Your Own Snow Globe
Remove the base from your snow globe. Then, follow these steps.
1. Measure, Cut, Laminate and Glue Your Picture
Measure your photo and cut it so it's a good fit inside the globe. You can leave it rectangular or curve the top to match the globe - but either way, make sure there's enough room for glitter to get around the edges.
Pro tip: Use two photos back-to-back to create a more dynamic snow globe. Cut them together so they're a perfect fit.
Laminate your photo and cut away excess material. If you're using two photos, use double-sided tape to stick them together before you laminate. When your pictures fit inside the globe properly, use hot glue to stick the laminated piece to the bottom of the base.
You don't have to use a picture, either - you can leave those to personalized photo books and simply decorate the base with little, winter-themed figurines.
2. Add to the Base
If you have small decorations, such as snowmen, candy canes or holiday trees, set them up on the base near the picture to get a good idea of how they'll look inside the globe. When they're right where you like them, glue your decorations to the snow globe's base.
Pro tip: Let the glue dry completely before you start the next step.

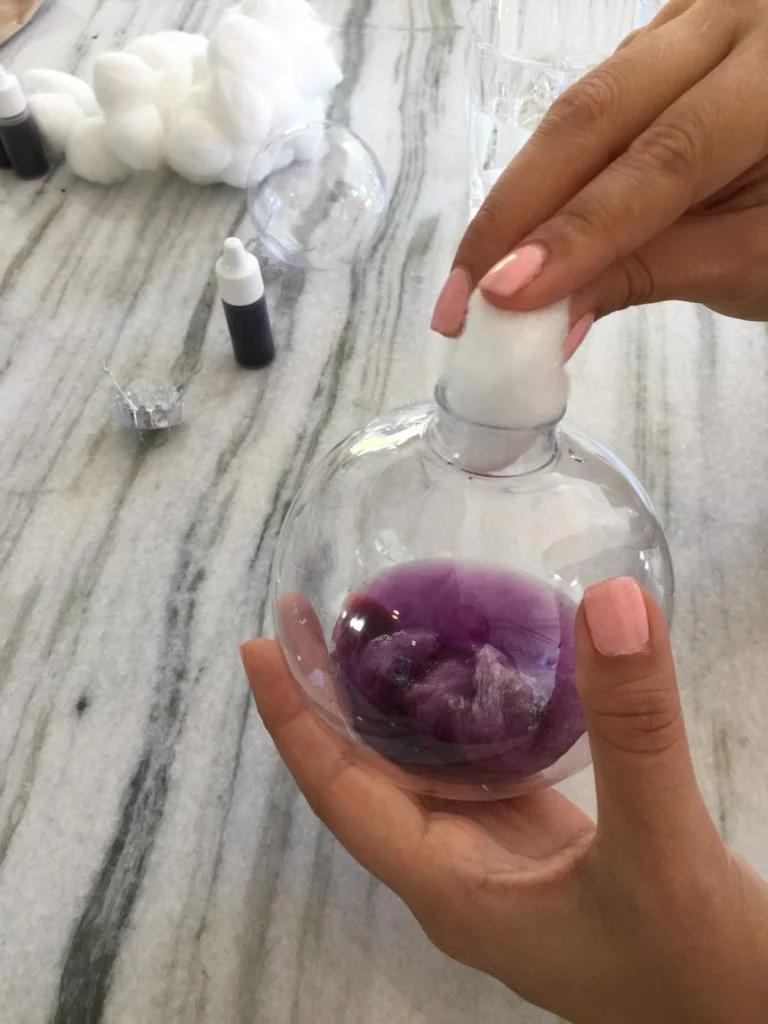
3. Fill the Globe
Fill the globe with glitter and sequins. Don't go overboard here, though - you don't want to obstruct the photo or crowd the globe too much. You can add more later if you think the globe needs it.

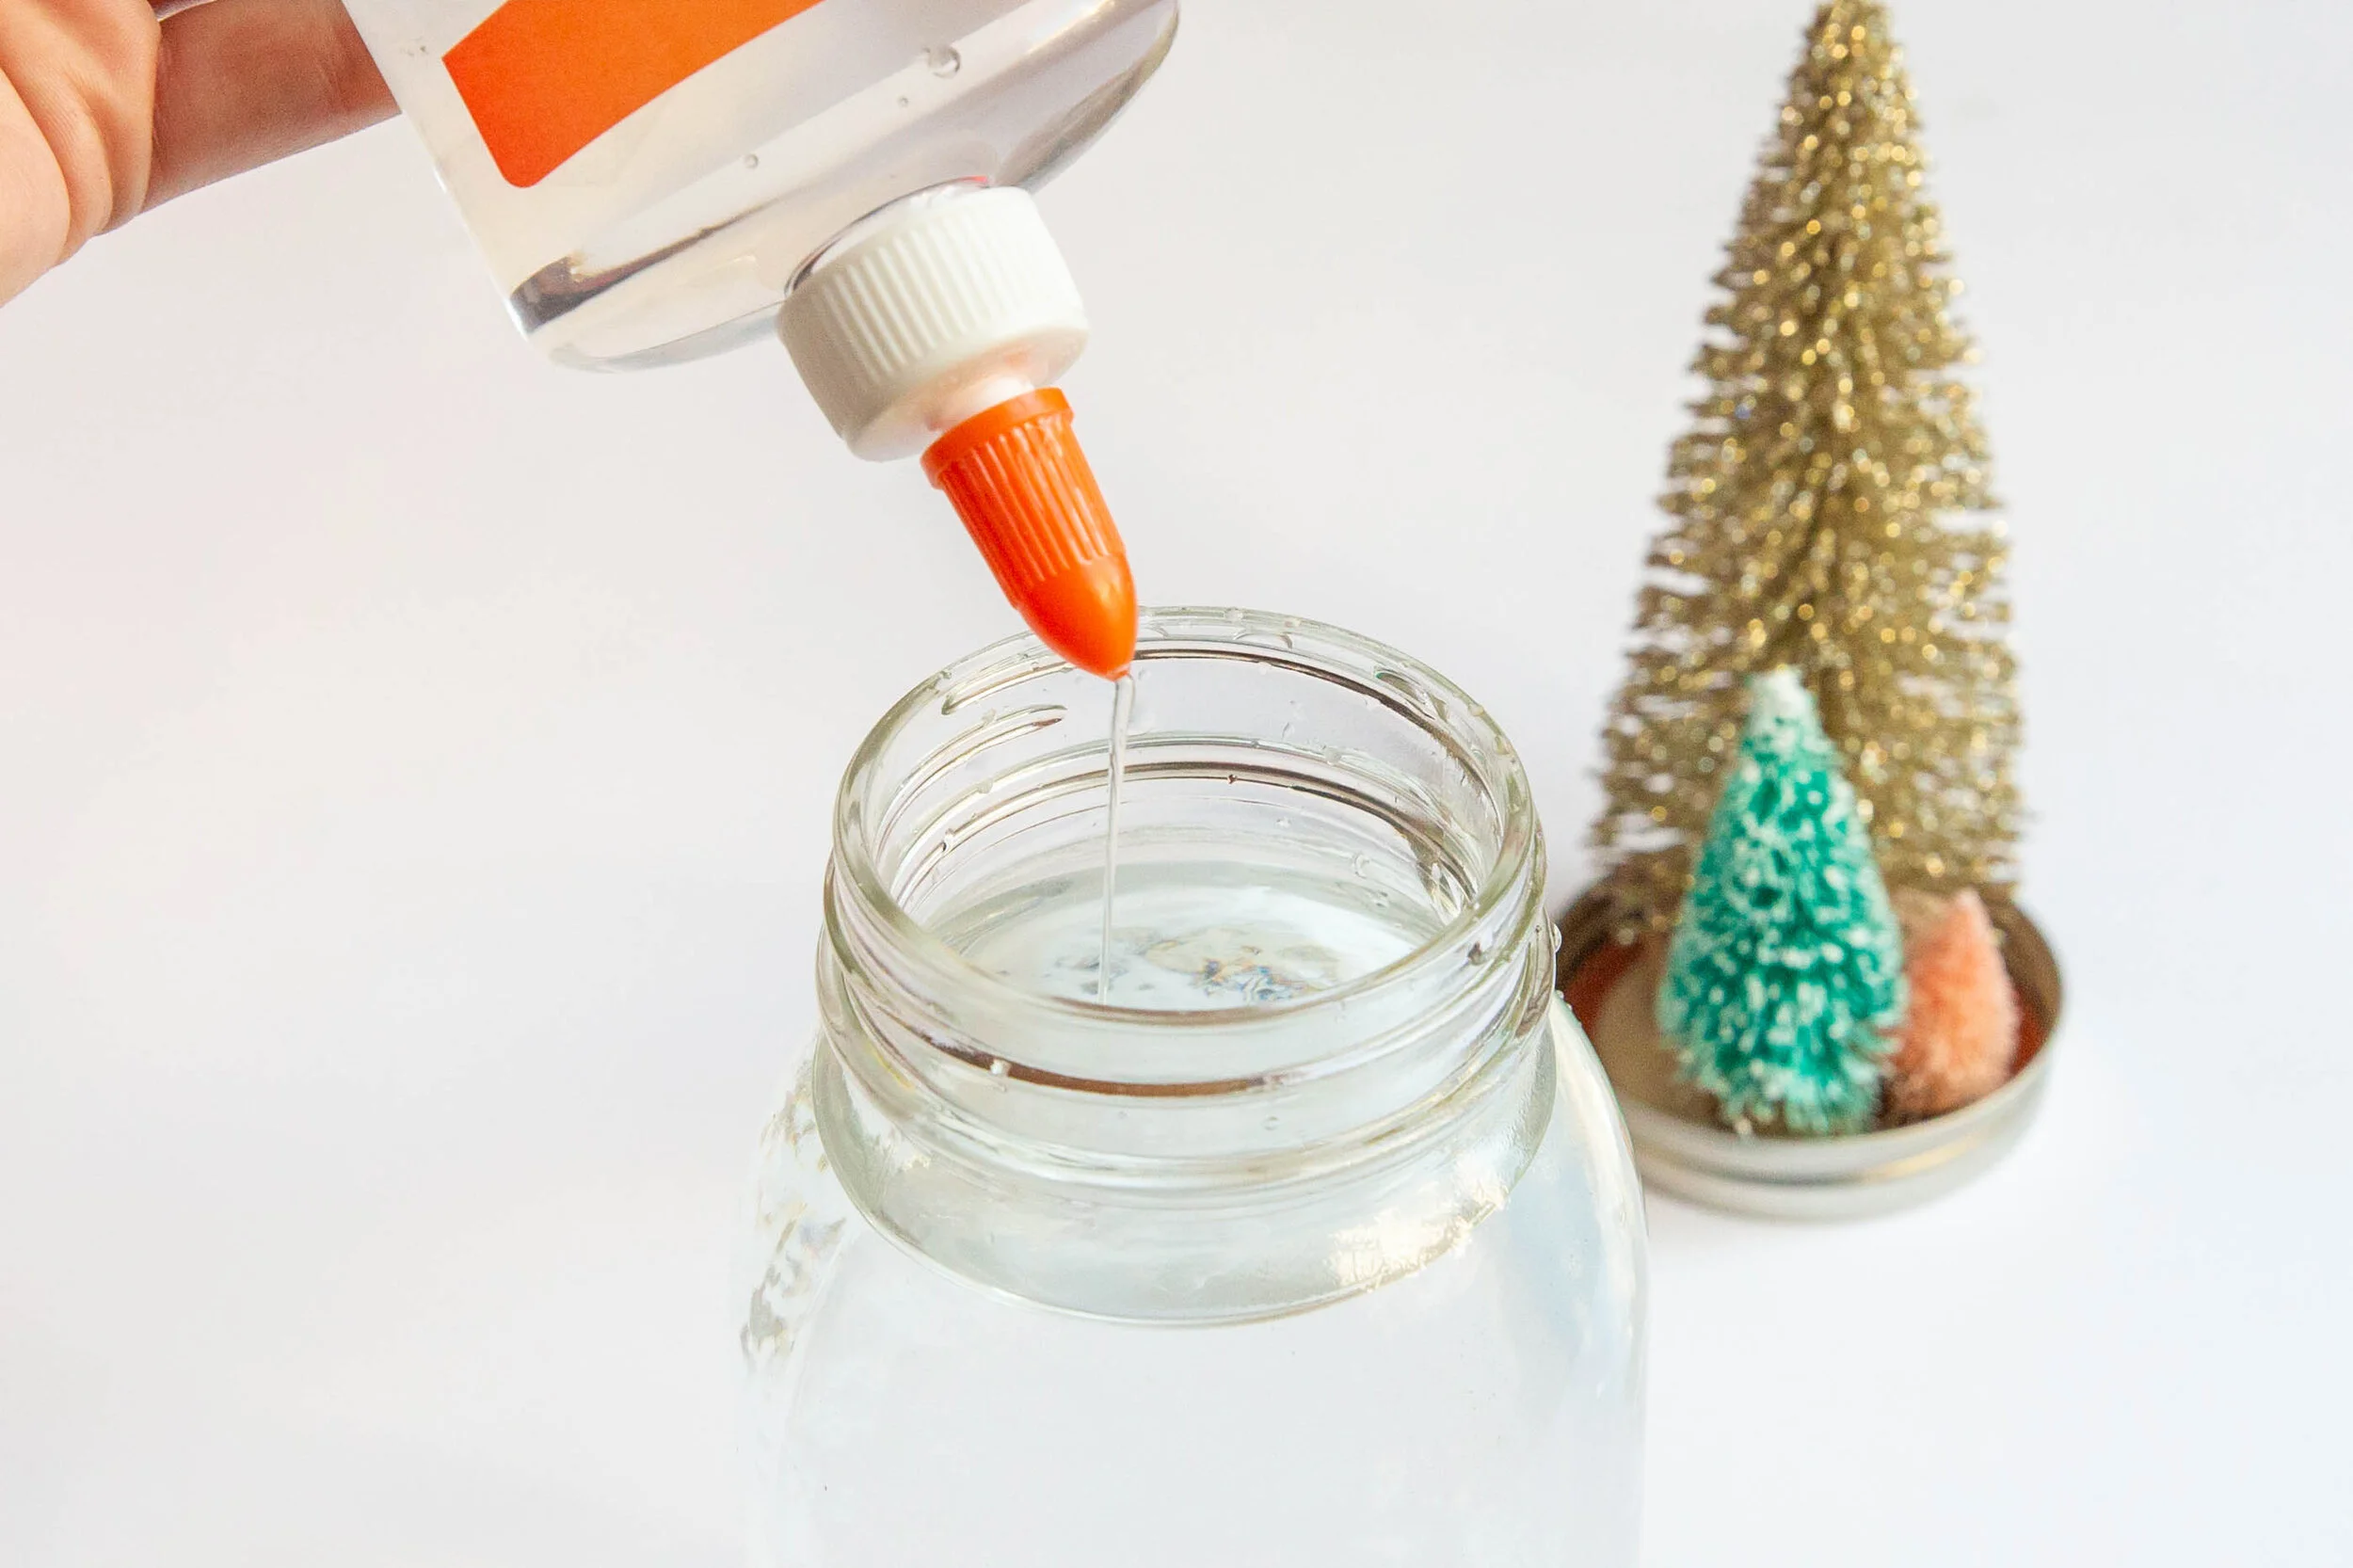
4. Add Glycerin or Clear Glue
Add about a half-teaspoon of glycerin or clear glue to the globe. This is optional, but it's there to help the glitter drift to the bottom of the globe slowly, so we definitely recommend it.
5. Add Water
Fill the globe with distilled water. Leave a little bit of space at the top so you can fit the lid and base back in place.
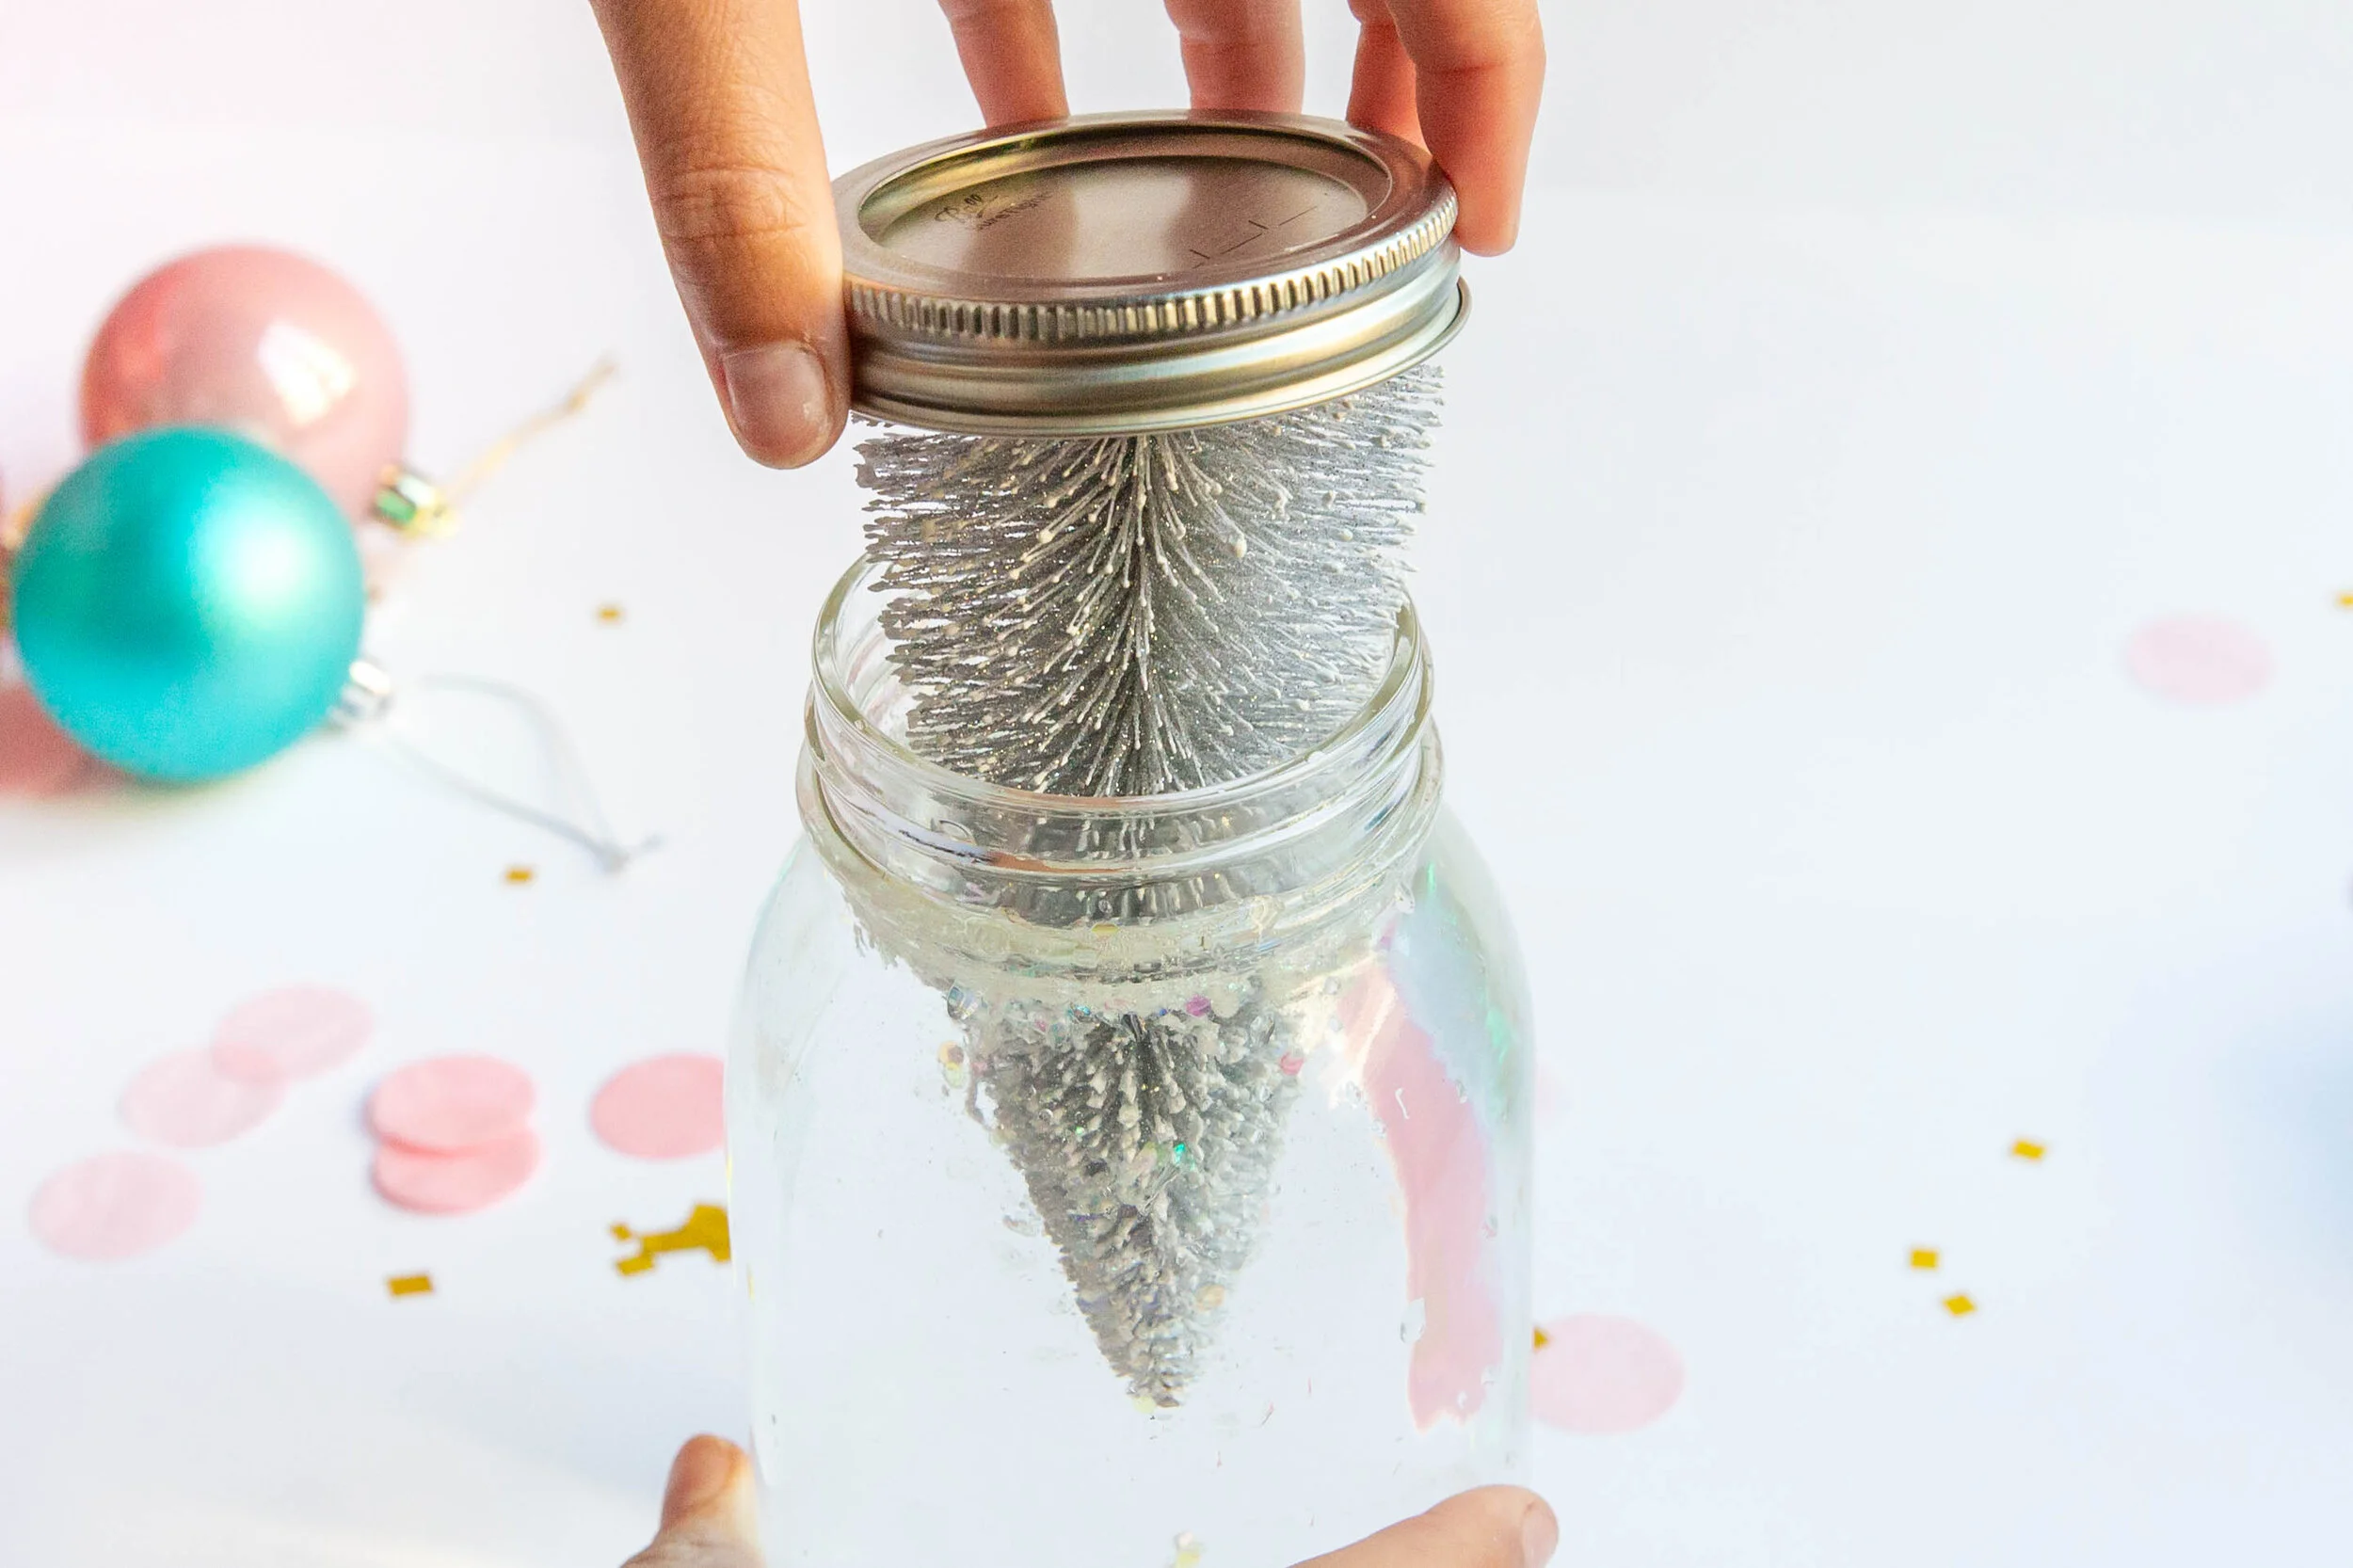
6. Screw on the Base
Screw the base in place, but only if your glue is completely dry. Flip the globe over and see how you feel about the amount of glitter you included. Now's the time to add more - and you can top off the water, too, if you didn't include enough to cover the picture inside.
Pro tip: To prevent leaks, put a little hot glue between the threads before you put the base back on the globe.

Have You Created Your Own Photo Snow Globe?
If you've put together your own snow globe and have some tips to inspire other crafters, we'd love to hear them. We'd also like to see your creation, so tag us in a photo on Instagram (we're @Mixbook) or drop a link in the comments section below!