How to Make a Photo Book
Creating a photo book is one of the best ways to relive your favorite memories and preserve them. But starting a photo book project from scratch can be an overwhelming task, as you need to make some tough calls such as choosing the right photos, selecting the correct theme, and whatnot.
That’s why we have come up with this comprehensive guide that will explain everything you need to know about creating your own photo book. It’ll make the process of designing a custom photo book as easy and intuitive as possible. Below we’ve compiled a few simple steps to make the process as seamless as possible.
How to Create a Photo Book: Best Tips to Follow
If you’re planning to make a photo book from scratch, use the list of tips mentioned below to complete the process effectively.
1. Organize Your Photos
One of the most important parts of creating a photo book is to organize your photos. Thanks to smartphones and social media platforms, you would already have tons of digital photos scattered around.
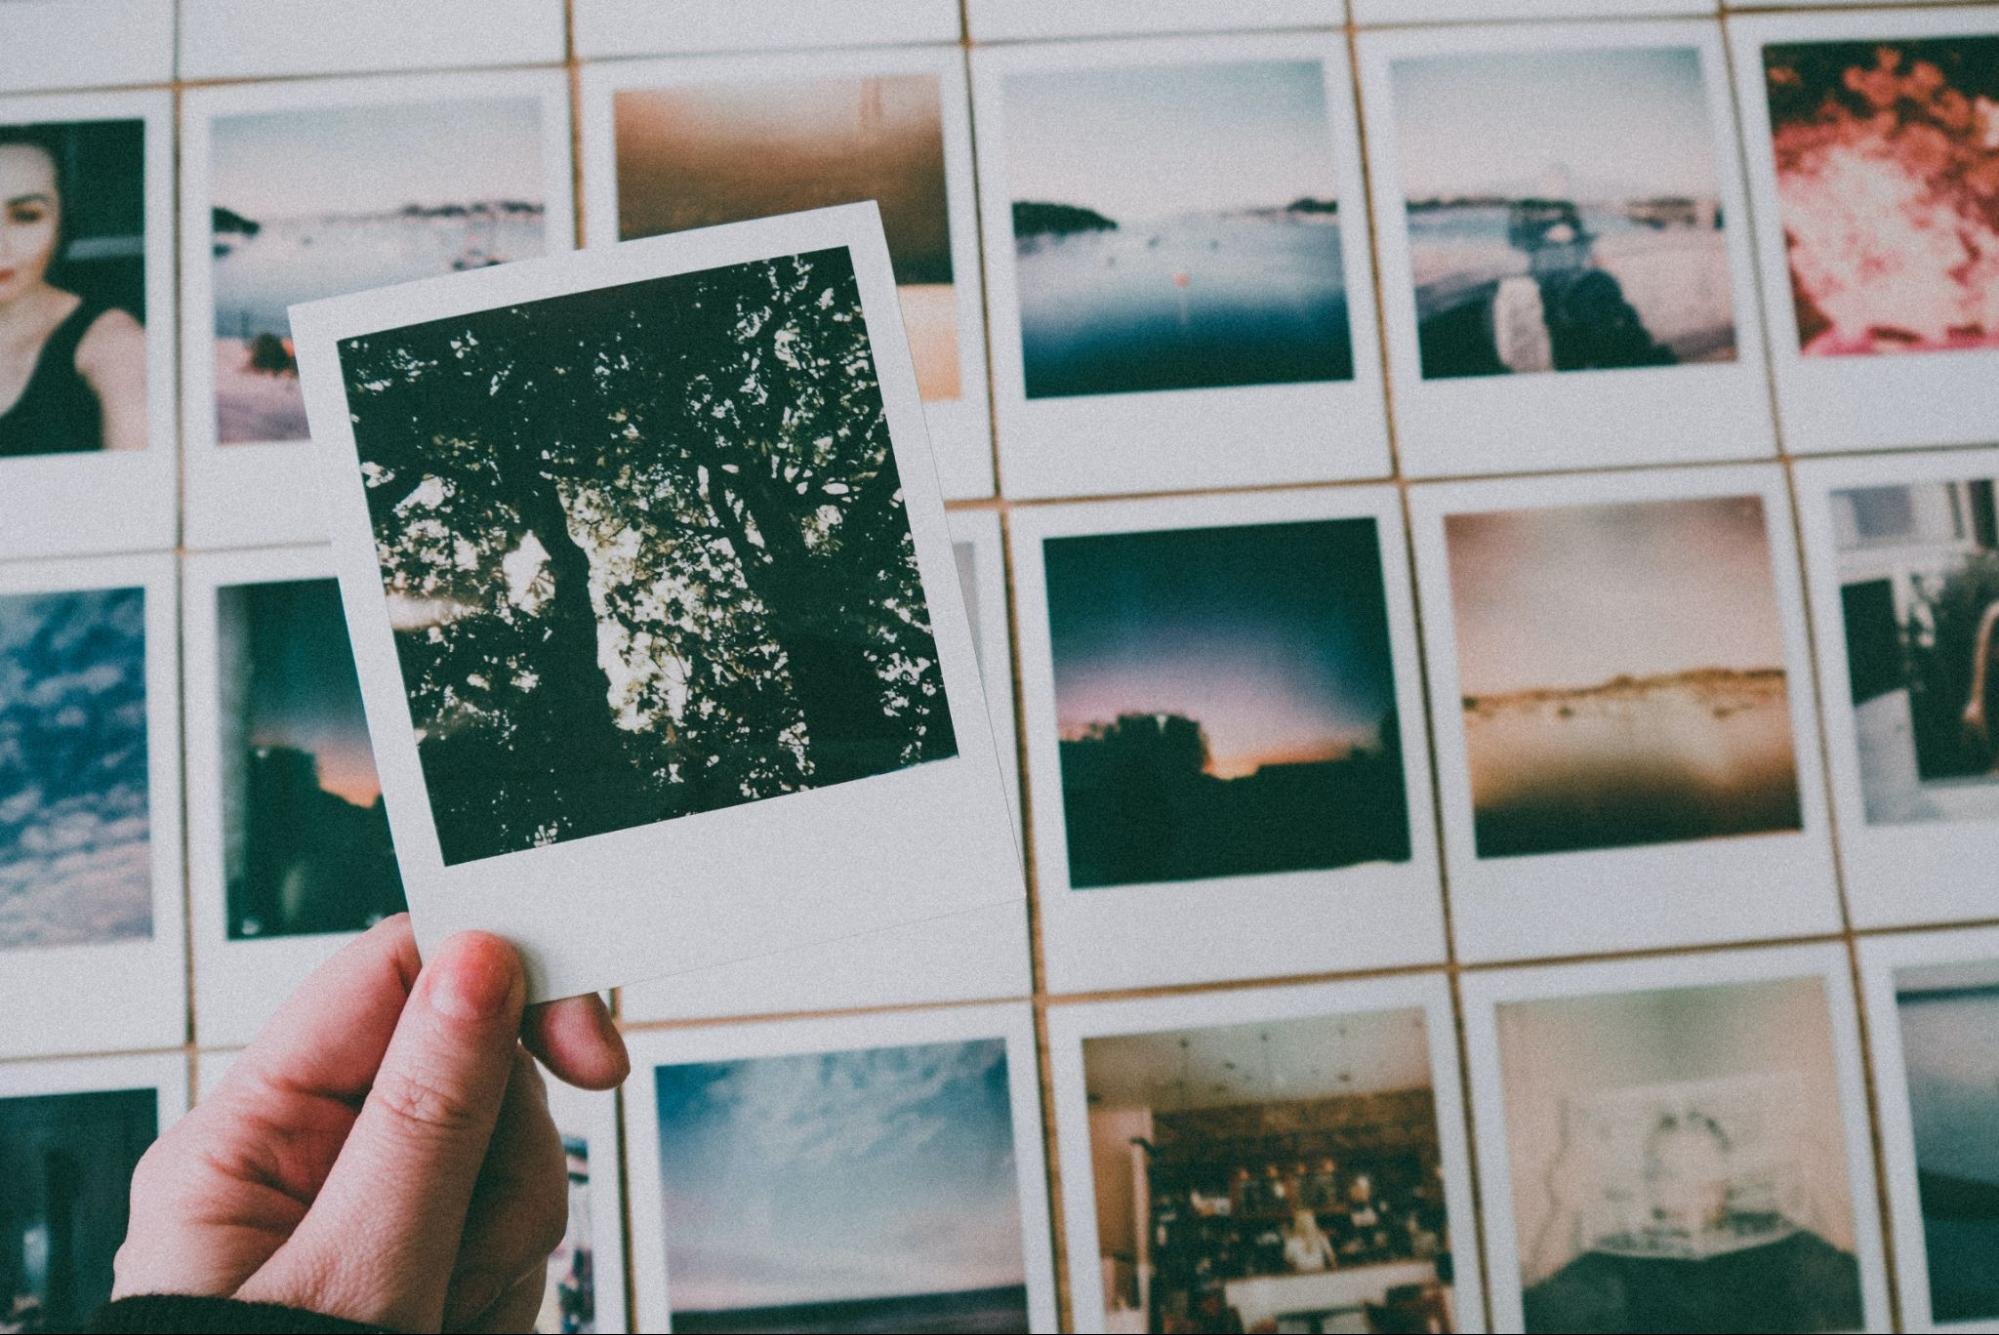
Go through the photo galleries of your smartphone and social media profiles to collect all the photos. It might cost you some time but will allow you to find old photos that you have forgotten about for digital photo organization.
Collect all the digital photos and save them in a separate folder on your laptop or computer. Don’t forget to label the folder, like “Pictures for Photo Book”, so that you can remember and find it easily.
2. Filter Photos
You can also remove multiple photos having the same subject matter and keep the ones with better angles and lighting. If you have photo editing skills, consider improving your picture using a photo editor by resizing, cropping, rotating, flipping, or customizing backgrounds. Remember, print books require higher quality photos so they don’t get warped or blurry once they are printed. So, discard out-of-focus photos.
3. Select the Theme
Log into your Mixbook account or create an account if you don't have one yet. Next, visit the Photo Book page on the Mixbook website where you can find more than 400 themed templates perfect for any occasion.
Don’t let blank pages scare you! For users not interested in a particular theme or looking for full-creative control, Mixbook’s Blank Canvas books put you in the driver’s seat and offer unlimited possibilities.
One important factor to keep in mind is to be aware of how many pages you’re adding to the book. That’s because it’s easy to add a lot of the pages to the photo book very quickly and end up with several blank ones.
Additionally, it’s also important to consider the number of photos you’ll be adding to the album. It’ll help you choose the right theme for your photo book.

Explore Your Theme Options

Mixbook has developed a new, more efficient way to choose a theme that speaks to you and your design style. This new feature lets you explore all themes, previewing your photos within each. Since you can preview the cover and several pages, choosing the theme that best suits your photo book's purpose is faster and easier. All you need to do is:
Upload five or more images. — but to get the full book experience, upload 20.

Select a cover to preview the inside of the book.

Change your book shape (landscape, portrait, square).
Start creating your one-of-a-kind photo book to make your story come to life.
Tips to Choose the Right Theme for Your Photo Book
Every photo book is different and that’s why it deserves a unique approach. The theme you select should complement the type of photos you’re going to select. You just need to let your creativity flow to make something that fits your narrative and brings your vision to life.
While scrolling through the collection of MixBook themes, you’ll find everything from baby books to wedding albums and year-in-review books to vacation albums. Additionally, all these themes are fully customizable and can be changed mid-project if you change your mind.
There are tons of creative photobook ideas and the following ones will help you choose the best theme for your photo book.
Traditional Photo Book
Your photo album is simply a little part of your life narrative. So, collecting and organizing pictures in a photo book is actually a unique and creative way to tell a story. The simplest approach to accomplish this is to make your photo book by following a chronological sequence.
If you’re planning to go for such a photo book, you can go with our Blank Canvas and customize it the way you want. However, you can also go with the Simple Modern Book, which will help you tell a story using all the photos you’re planning to add to your photo book.
Family History Photo Book
We have seen countless people creating a family history photo book with us to memorialize their family. These photo books, assembled and documented meticulously, help you celebrate your family’s heritage and impress your extended family members as well as friends.
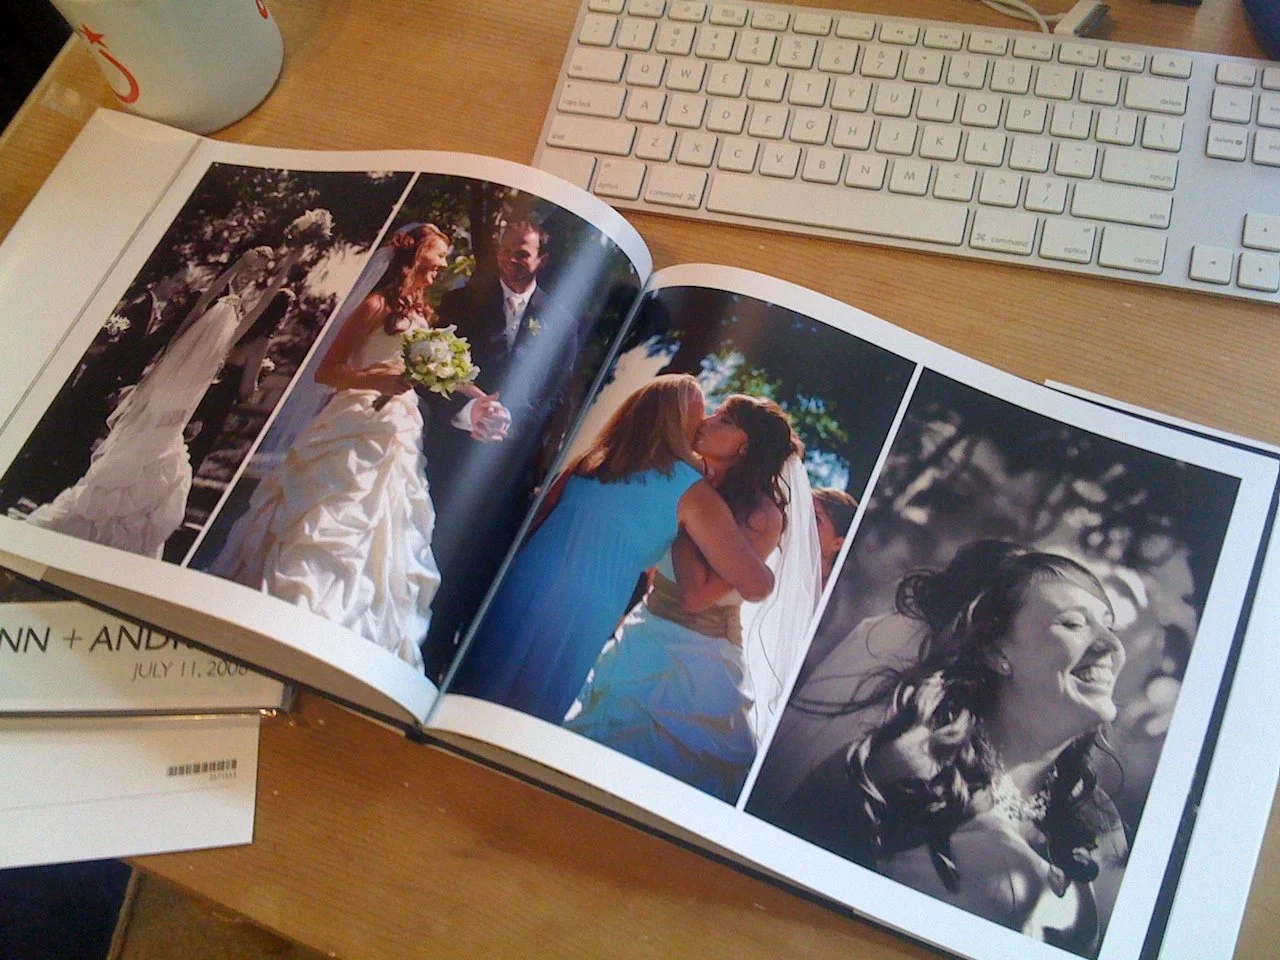
Wedding Photo Book
Creating a wedding photo book is an excellent way to have something that makes a beautiful keepsake. You can use our premade wedding themes, such as Bold Modern Wedding, Simple White Wedding, Timeless Wedding, Watercolor Greenery Wedding, and so on.
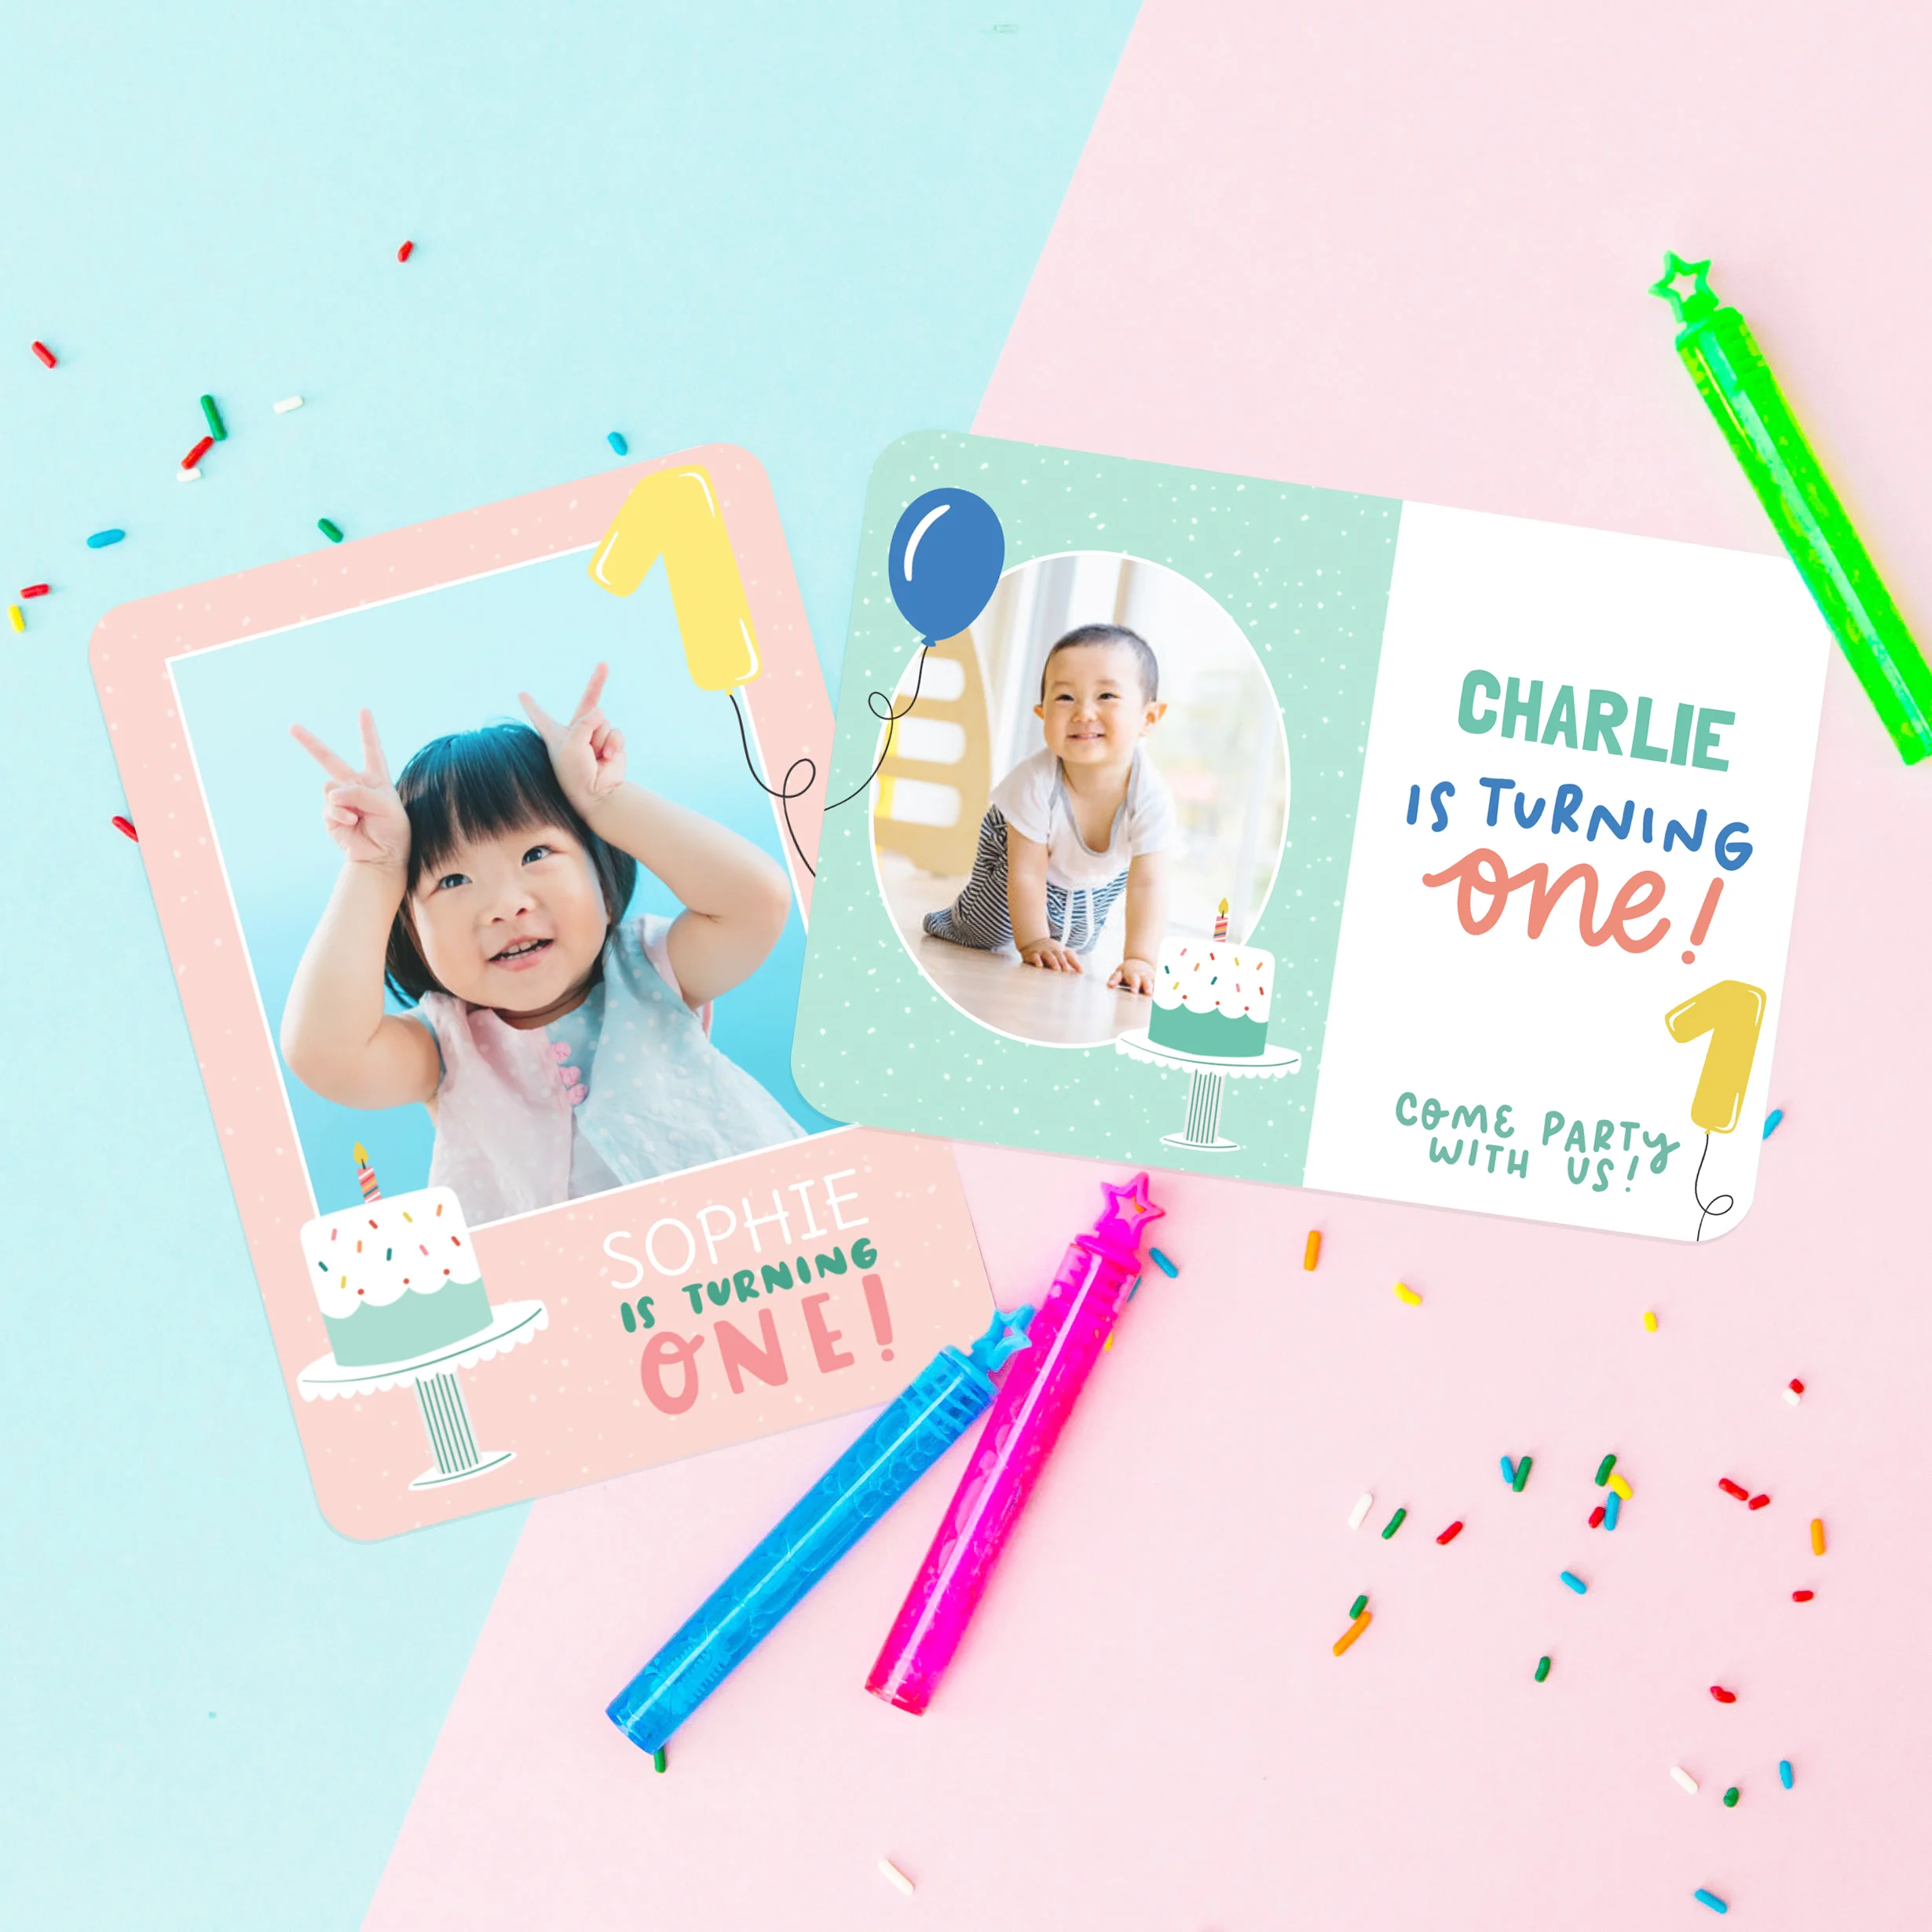
Baby Photo Book
Whether you have only one teeny tiny minor or more in your house, you can create a dedicated baby photo book for them. You can search our extensive list of baby photo books to find the theme that suits you the best.
Travel Photo Book
If you’re an avid adventurer and traveler, you can create a travel photo book to treasure the stunning sights that you’ve seen and captured while traveling abroad, on your honeymoon, or on any holiday. You can use Mixbook’s special travel photo books to preserve the memories of your adventures.
Memory Photo Book
Looking back at memorable and precious pictures of nearest and dearest, who are far away or are no longer with you, offers a way to feel close to them. You can gather special memories (photos) of such people and create a memory photo book.
4. Start Uploading
Once you have selected the desired theme, the next step is to start uploading your photos to the book. Here, you’ll get another chance to organize and categorize your photos.
The photo book creation tool even allows you to upload your Google photos. It will also alert you about the blurred or undersized photos at this point and you’ll need to discard them.
5. Customize the Photo Book
Customizing your photo book is the most important part of the entire process as it allows you to give your photo album a unique look that complements your storyline. Mixbook allows you to customize the layout of your photo book just the way you want.
You can choose different page layouts after uploading your photos. For example, you can change the background design/color and add multiple photos on a single page.
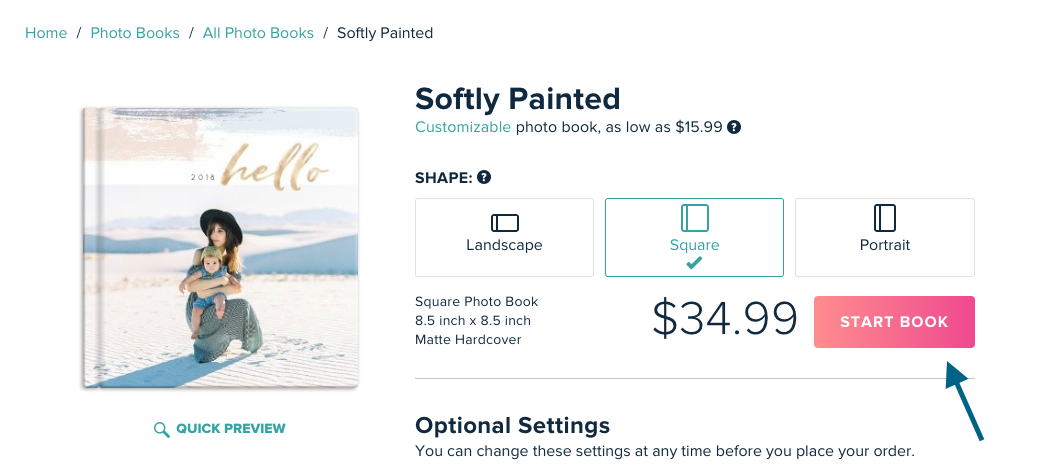
Make sure that you choose the size of the photo book wisely. It depends on how you’re planning to use/display your photo album. For example, if you’re planning to place it on your coffee table, you can go with our 6 x 6 inches or 8.5 x 8.5 inches page size,
On the other hand, if you want to display the photo book on a shelf, you can go with our 12 x 12 inches page size. The best thing about choosing these measurements is that you can change them any time you want, in case you change your mind.
6. Bring Your Photo Book to Life
MixBook offers tons of features that you can use to bring your photo book to life. It has a wide range of easy-to-use, flexible, and intuitive editing tools to help you create a perfect photo book.
The best thing about this tool is that it’s AI-powered and provides you with creative suggestions to give your photo album a unique look. Here’s how you can use MixBook to bring your photo book to life.
Set the First Page Wisely
The first page of your photo book should start with a big statement photo. It’ll set the scene for the rest of your photo book. After that, you can use the following tips to bring your photo book to life.
Add Text to Secure Memories
Mixbook allows you to add your own stickers and text to your album to create a perfect book based on your narrative and storyline. Additionally, you can also change the page and photo layouts anytime you want.
You can bring your photos story to life by using the text tool to caption photos, add dates, and share stories or highlights from an event. You’ll find plenty of space where you can add captions and texts to tell a story and describe the photo nicely.
You can add colorful descriptions, quotes from an event, place names, and dates to secure your memories. In addition, you can also adjust fonts, text size, and color so the content fits seamlessly with your entire book. Be aware of how photos and text line up and make sure they do not overlap or else it may be difficult to read once it’s printed.
Use Stickers to Add a Creative Touch
Stickers can add a simple, but creative touch! You can use the stickers Mixbook recommends or search for something specific like “Christmas” or “Love” to see more options.
Remember, sometimes less is more so be aware of how many stickers you’ve added to a page and where you’ve placed them so they aren’t covering any important content.
Play Around with Layouts
Change up your layouts or change their location to add some variation. For instance, you can choose a trio of square photographs going across the left page to portray momentum or a succession of events. Play around with different layouts to choose the one that suits you the best.
Keep in mind that the addition of meaningful images is what counts the most. Don't worry about perfection. You can't go wrong if you focus on the photographs that make you happy.
7. Preview Your Book
Once you’ve got everything in place, one of the most important things you can do is preview your book. Make sure photos are placed and formatted properly; your text is the right font style/size/color and tells the story you want (and is spell checked); and if you’ve been jumping back and forth between pages, make sure you aren’t missing content on any page.
If everything looks good (you may want someone else to review it too!) it’s time to order. Once you click “checkout,” you’ll have another chance to update the paper and cover style. Once you’ve confirmed your paper and cover style, add your product to your cart and it’s time to print.
Don’t forget to send your photo book to yourself via email. Plus, keep multiple copies of your photo book saved in your device to eliminate the risk of losing it.
Step By Step Guide to Make a Custom Photo Book from Scratch Using MixBook
Just uploading pictures to your custom photo book is a snap with Mixbook. Create photo books using Mixbook's user-friendly software to design your custom photo book down to the details.
Before we get started on the desktop editor below, did you know Mixbook has an iOS app? Most of the same steps below still apply to our app. Learn more here.
Getting Started on Your Personalized Photo Book
Use the steps listed below to start creating your own photo book.
1. Log into your Mixbook account or create an account if you don't have one yet.
2. Hover over the Photo Books tab and choose a theme like wedding, baby, family, year in review, romance, seasonal, or every day for a more general compilation.

3. You can choose to Start a Blank Book if you wish or click designs you like for a Quick Preview.
4. When you find the photo book template you wish to use, click Start Book.
5. A new window opens and asks you to add your photos. Choose how you will upload your photos:
a. From your device
b. From My Photos (previously uploaded photos)
c. Instagram
d. Facebook
e. Google Photos
f. SmugMug
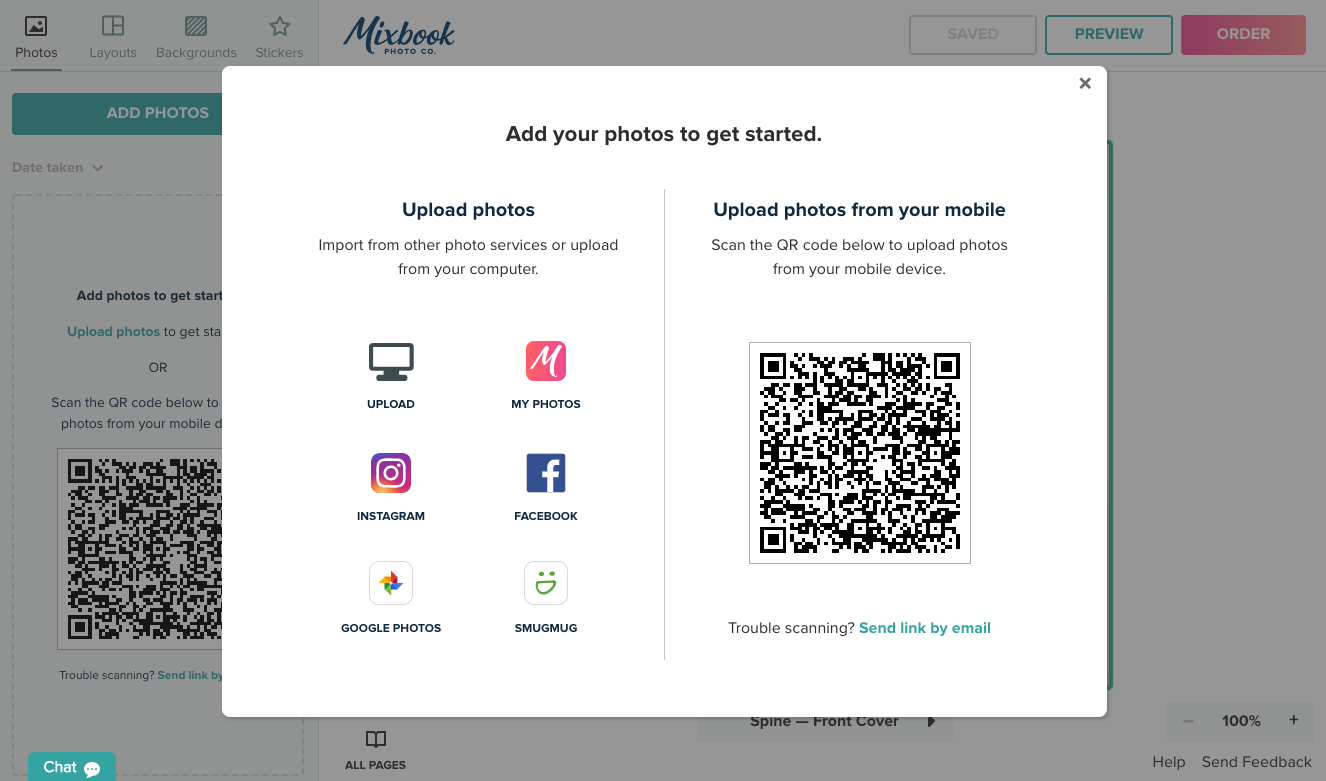
6. If prompted, allow your social media or photo accounts to use Mixbook to access your photos.
7. Click Upload Photos and choose which images you wish to add to your Mixbook project. (Hold down the Command key to select multiple images.)

Adding Images and Extras to Your Photo Book
8. When you are asked if you would like to Auto-Create your pages, choose Yes, Please or No, Thank You.
9. Begin by dragging and dropping images to fill the cover with your favorite shots.

10. Click the arrow beneath the photo book to turn to the next page.
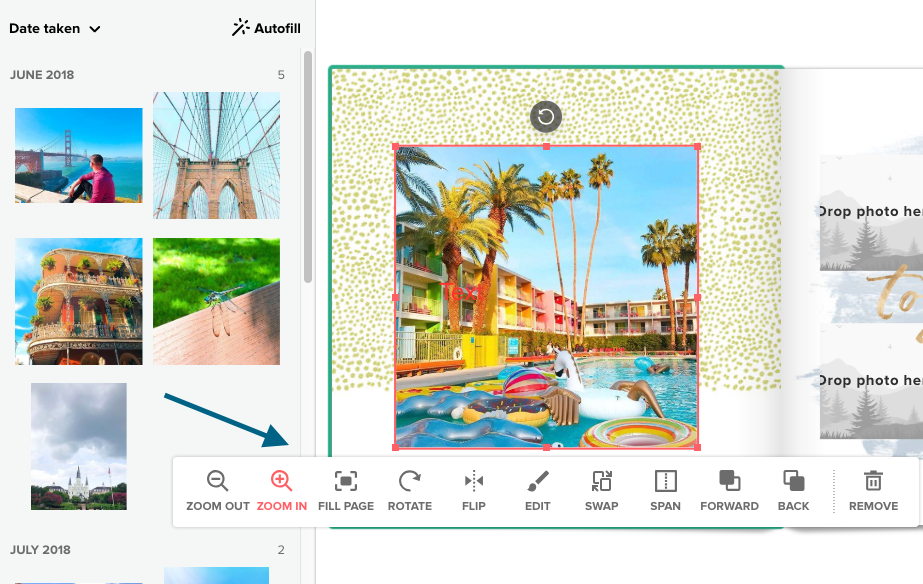
11. Continue adding photos as desired.
12. If needed, you may select Add Photos to add more pictures to your photo book project.
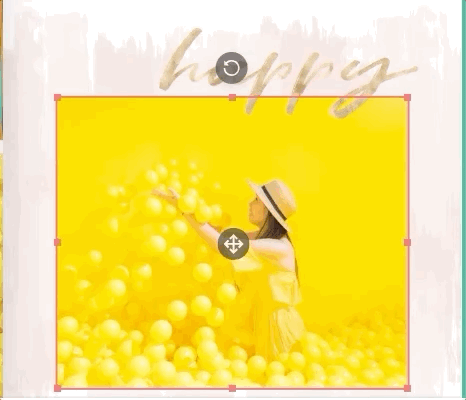
13. Choose the best fit for the photo using your cursor to hover over the multi-directional arrow, press directions using your arrow keys or click to drag and reposition the photo.
14. Click the photo to zoom in, zoom out, rotate, flip, or edit the image.
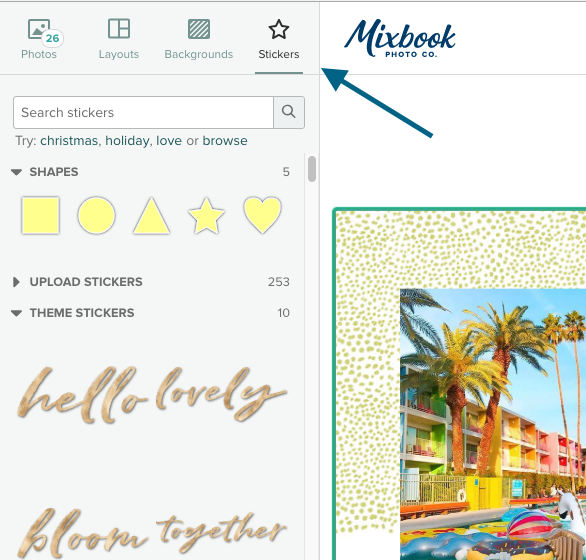
15. Easily personalize your contemporary photo book with stickers, borders, and other accents. Click Stickers to add graphics and word art to your photo book design.
16. Click any object to resize or reposition the text or graphic. You may also click Edit to adjust shadows, colors, or special effects.

17. Click Preview to review your work and Order to complete your purchase.
18. Choose the size of your photo book along with paper type and cover style.
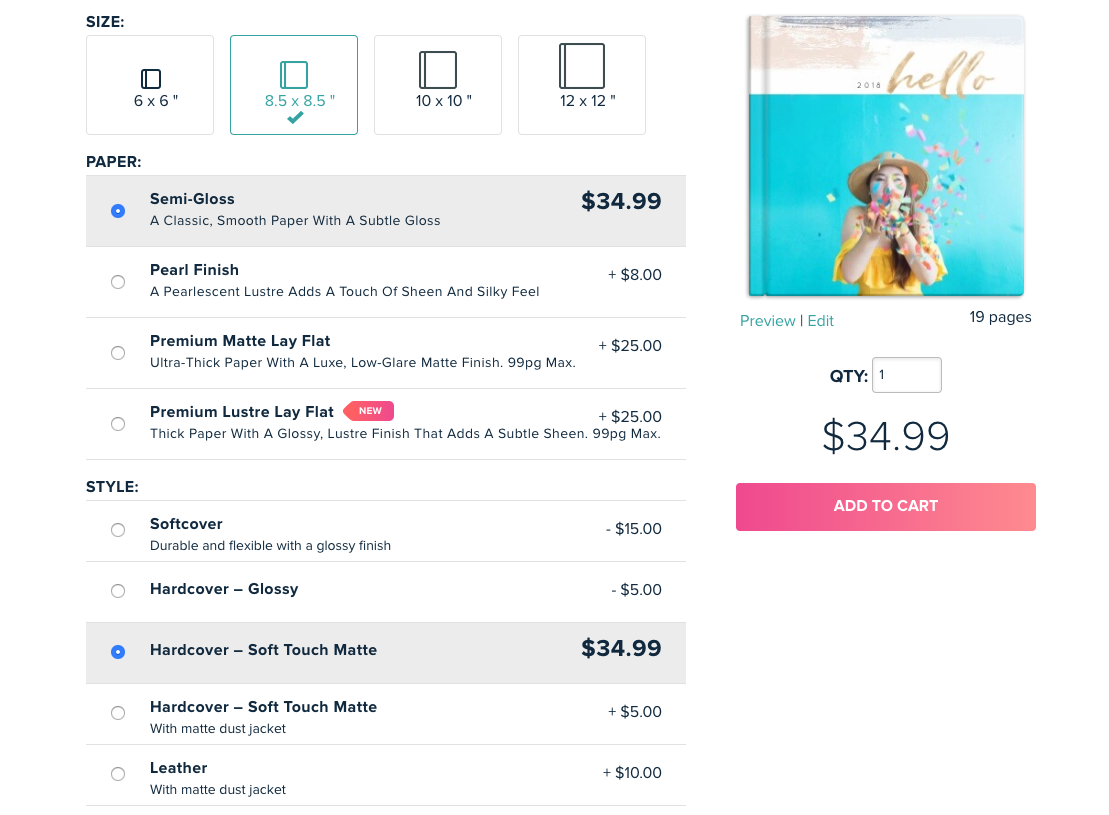
19. Click Add to Cart to complete your checkout.
Tips on Making Custom Photo Book
Personalizing your custom photo books is simple by using Mixbook's design software.
If at any point you need to add more pages to your photo book, click the down arrow on the Page Tools tab and select Add Blank Page or Add Theme Page.
Click Layouts to decide how many photos and what arrangement would look best.
Add your own personal text throughout the book to capture special sentiments.
Mixbook's photo book software allows you to effortlessly arrange photo displays throughout the book's pages. Creating keepsake photo albums is easier than ever with a wide array of photo book themes or the ability, to begin with, a blank canvas to create your own perfect photo book.