Do you want to convert photo albums into slideshows? Here's how!
Photography is always evolving, and so are the ways in which we share our captured moments and memories. The beauty of that evolution is that our options for taking and sharing photos only ever expand. You can still sit with your grandma and pour over a dusty old photo album, then show her your latest family photo book or a slideshow on your smartphone, computer, or big-screen TV.
Converting photo albums to digital files promises the best of both worlds. Those precious original prints remain intact while your digital duplicates are ready for editing, posting on social media, and turning into amazing slideshows or other projects.
The steps to convert photo albums to digital slideshows are straightforward and enjoyable, with varied choices among devices, apps, and software to get the job done. Plus, you can infuse the final slideshow with your own sense of creativity while embracing the contents and character of a physical photo album.
Preparing to Convert Photo Albums to Digital
Digitizing photos is easy but does take some time, so it’s best to start with a plan for the project.
Do you want to replicate an entire photo album as a digital slideshow, with the exact same photos in the same order? Good candidates for this type of approach include wedding albums and vacation photo albums.

Or, are you selecting photos from multiple albums? Perhaps you’re making a slideshow for a big birthday party and want photos for every year of a lifetime.
Before you digitize photos, you need to remove the photo prints from the album to scan them without any plastic coverings. You might prefer to remove and scan a few photos at a time or prepare a whole batch and return them to the album later.
Tips:
Do not try to smooth out any wrinkles or cracks in the photos. It’s better to fix these issues on the digital versions using editing software.
If your photos are dusty, gently wipe them with a soft, dry, lint-free cloth or use a can of compressed air. Never use a damp cloth or any types of cleaning solutions as they will damage the photos.
Handle old photos with care, especially vintage or delicate prints. Hold them by the edges and avoid touching the fronts.
Digitizing Photos from an Album
Digitizing photos essentially means scanning them. You can do this with one of the following:
A home scanner (or all-in-one printer/scanner)
A scanner at a print shop or other local business e.g. Costco, CVS, Staples
A scanning app on a smartphone or tablet
Or by sending the photos away to a digitizing service
Resolution: Whichever method you use to digitize photos, opt for the highest resolution available. This is especially important if you intend to show your slideshow on a large screen.
Color Mode: Digitize color and sepia photos in full color. For black and white photos, experiment with color vs grayscale.
Home Scanner
A home scanner or printer/scanner combo is the most convenient option for digitizing photos, and it should do an excellent job. (You can get a really good home scanner from as little as $65, according to PC Mag.)
Check the instructions for your scanner and follow these basic steps:
Clean the scanner bed with a lint-free cloth.
Place the photo face-down on the scanner bed in the corner marked by an arrow.
Close the scanner and start the scan.
Choose to send the file directly to your computer, via email, or to cloud storage.
Examine the first photo or batch of photos and decide if you’re happy with the results.
There might be a little trial and error involved in choosing the best settings, but it gets faster and easier to digitize photos as you proceed.
Print Shops and In-Store Services
If you don’t have a scanner at home, find one in a local print shop, drugstore, or big-box store. These businesses often have a drop-off service as well as a DIY option. Mail-in digitizing services are available as well, although this is a more expensive option compared to DIY scanning.
Tip: Print shops can also provide add-ons like retouching and putting your digital files on a USB drive or DVD. Consider these professional services to digitize photos that are damaged or discolored.
Smartphone Scanner Apps
You might be tempted to take photos of original print photos with a smartphone, especially if it has a top-quality camera - but don't! Instead, download a scanning app. Many of these apps are available, including free and paid options.

Try the following smartphone scanner apps, which are all available on Android and iOS:
Google PhotoScan: This free app connects seamlessly with Google Photos, so it’s a top choice if you already use that service. The app has optional flash and glare-reduction tools. It requires you to take four scans of each image to be combined into one, which can be time-consuming but produces high-quality results.
Microsoft Office Lens: Users of Microsoft’s OneDrive may upload photos directly into this free app. The app includes some editing tools and filters. It also offers multiple format options.
Adobe Scan: A free app for iOS and Android, Adobe Scan uses an AI tool to sharpen images and auto-correct the perspective. It also removes shadows and glare.
Photomyne: A major benefit of this app is the option to scan multiple photos at once. The app uses AI to automatically crop and save images as individual files. The app also offers many special effects including colorizing black and white photos. Note: The free version has limited functions while the full version requires a paid membership.
Using a scanner app is straightforward – just open the app and follow the directions. They will generally be as follows:
Place the original photo on a solid, non-textured background in a place with natural lighting.
Position your camera phone directly above the photo and make sure it’s in focus before tapping.
Use built-in editing software and filters, if desired.
Save the digitized photos to your photo library or cloud drive, or email them to yourself.
Save, Organize and (Optionally) Edit the Digital Photos
It’s always smart to have your own system for organizing digital photos. When you’re converting photo albums to digital files to make a slideshow, keep all those photos in a dedicated folder. Rename the files and sort them in the order in which you want them to appear in the slideshow.
Now that you have the files digitized, you can optionally edit or filter them in any way you desire using your preferred software, app, or online service. At a minimum, straighten any crooked photos and remove red eye.
Related: Read our ultimate guide to digital photo organization.
Create a Slideshow
There are so many ways to create, display, and share a slideshow. You can create a slideshow on your phone, tablet, or computer, using free or paid software, apps, or web-based services.
The default photo program on your computer or device almost certainly has a slideshow option, and you can also make your own using common tools such as:
Microsoft PowerPoint
Google Slides
Google Photos
Keynote
Or, you could opt for a free, web-based service such as Animoto.
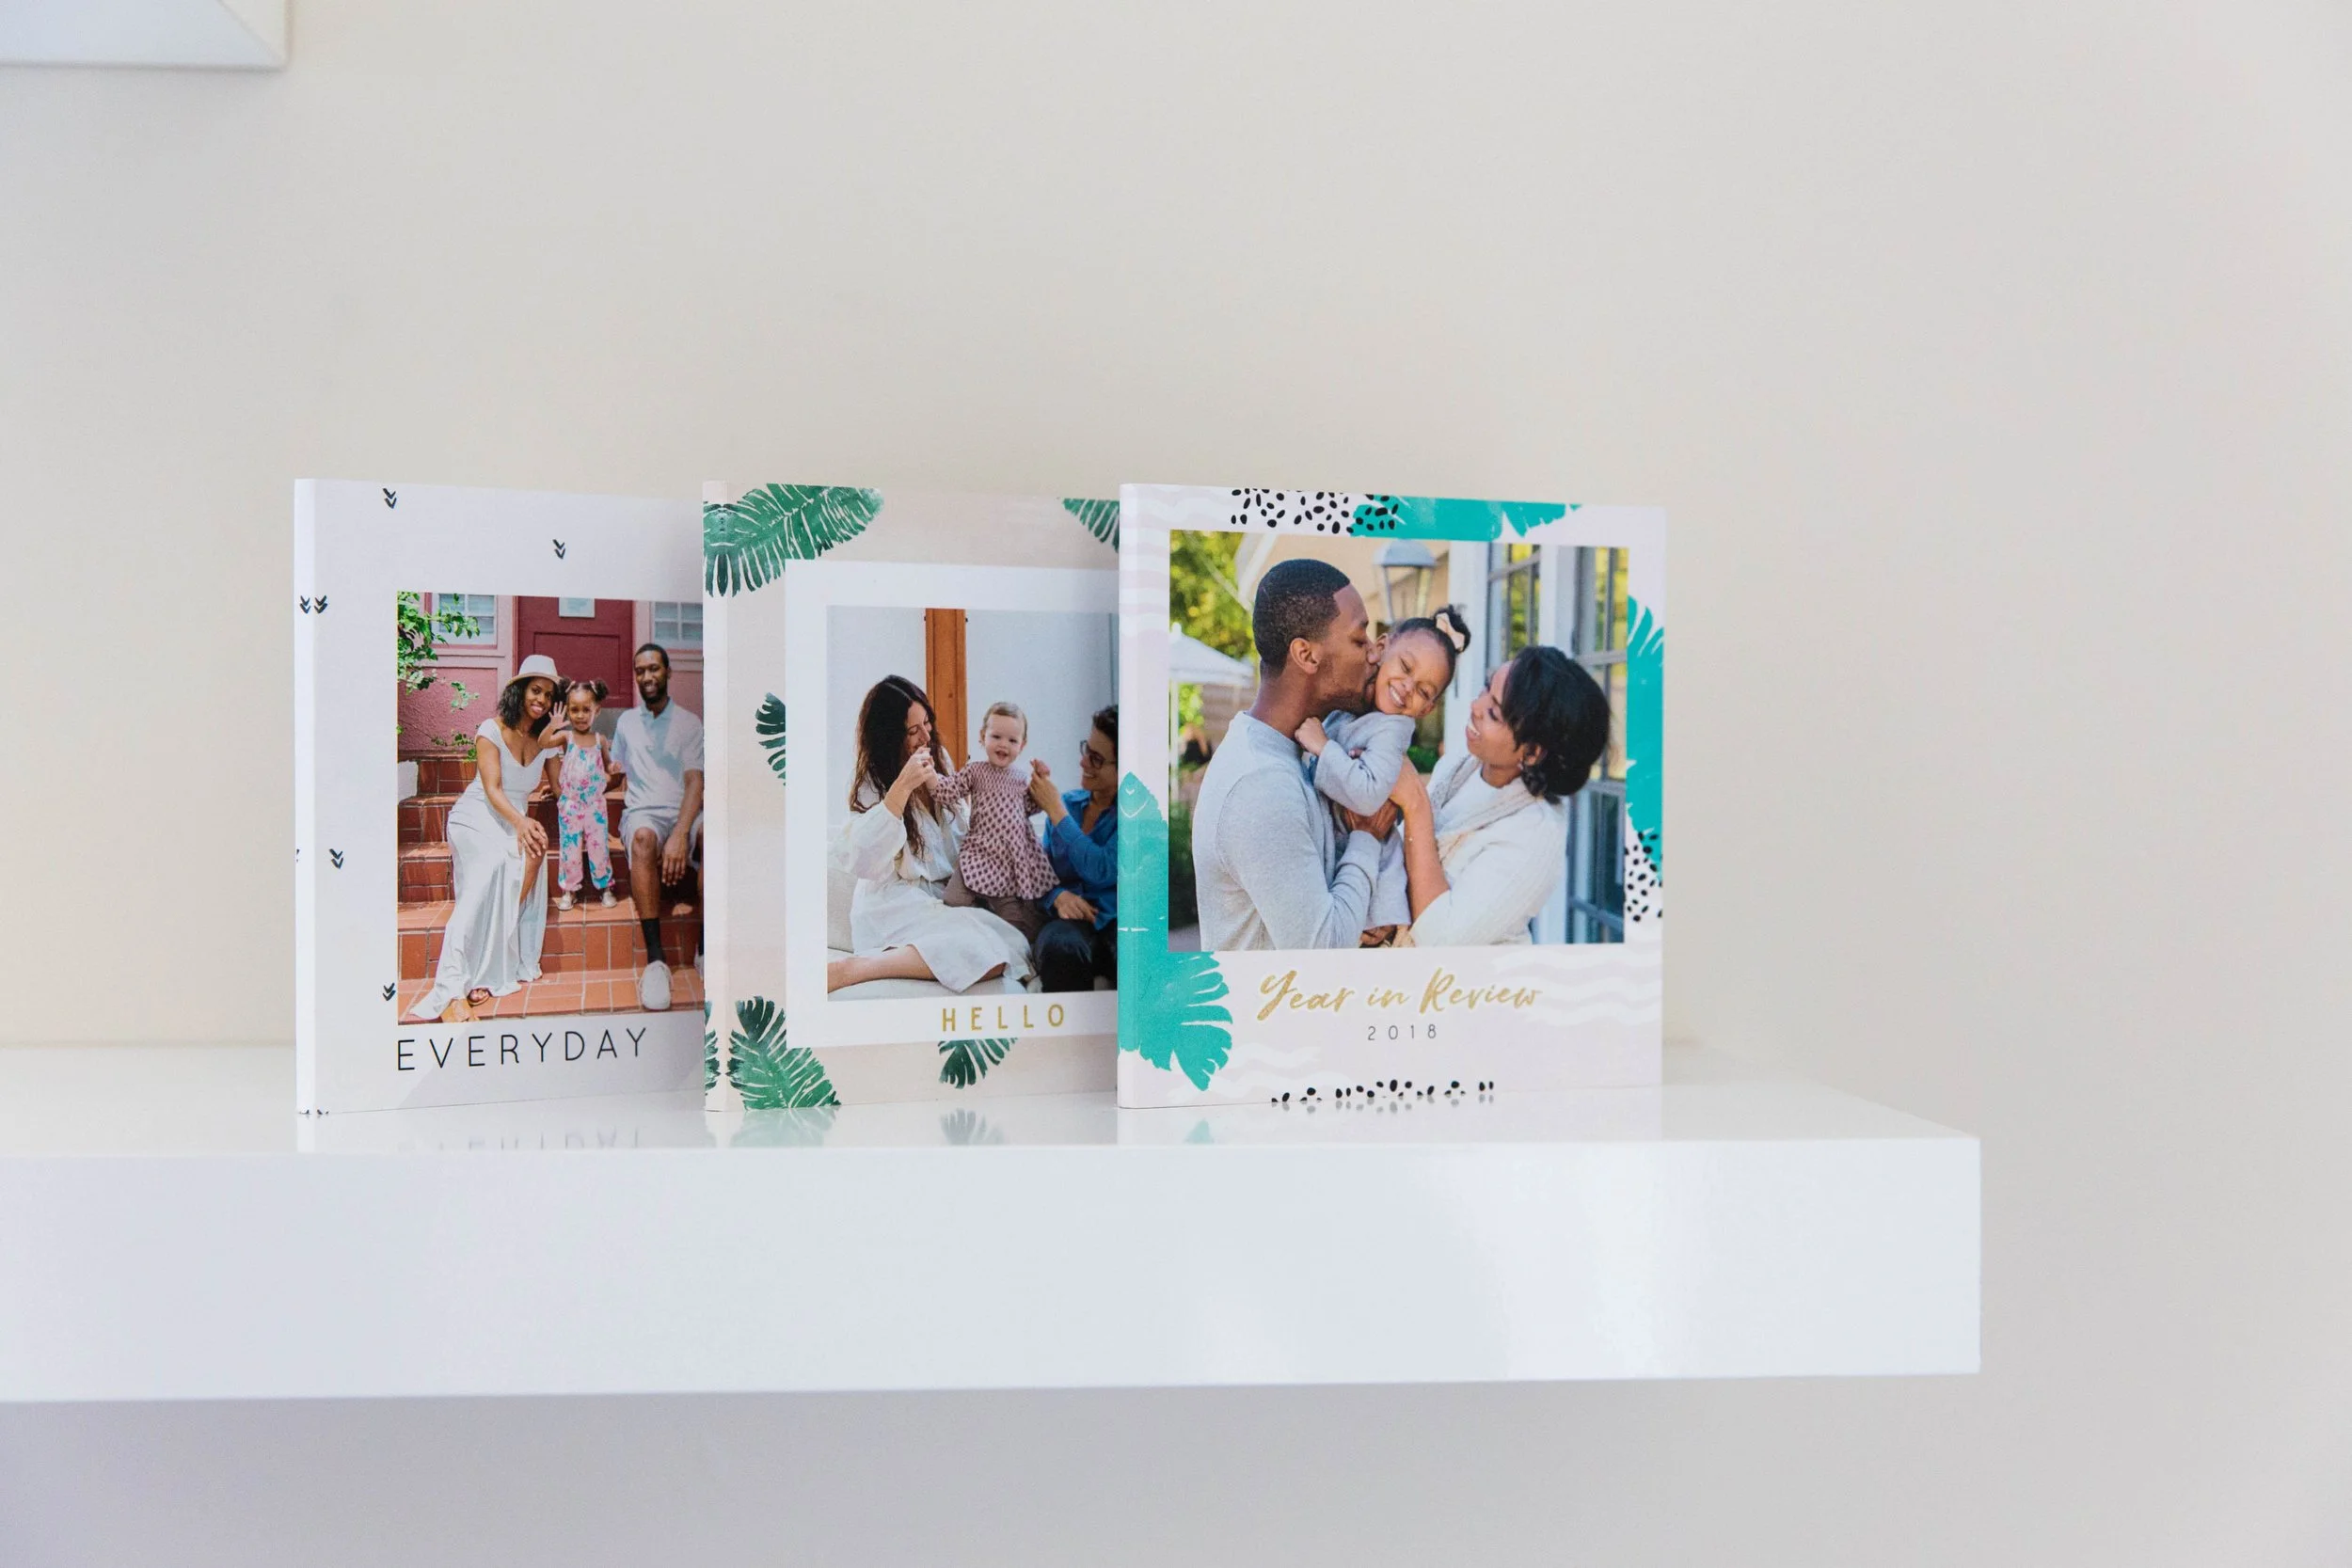
Read some reviews and consider your preferences e.g. beginner friendly vs advanced or feature-packed vs minimalist. Most offer pre-set themes for slideshows, similar to Mixbook Studio’s themes for photo books.

Adjust the Settings
After uploading your slideshow photos, experiment with the settings. Start by adjusting the display time and transition style from one photo to the next.
Experiment with other features that are usually available for slideshows, such as:
Special effects
Videos
Music
Text
Consider adding a title page, captions, or quotes; for example, marriage quotes for an anniversary slideshow.
Save your slideshow as a video file, which you can share, publish on a website, or save on a USB drive to display on various devices and screens. You might like to use your slideshow as a computer or TV screensaver.
Ready to Get Creative?
Another bonus of digitizing photo albums for a slideshow is that you can get really creative with all those digital photos. In addition to making a slideshow, you can turn photos into a digital photo book or print other amazing photo products like greeting cards, canvas prints, calendars, and more.